


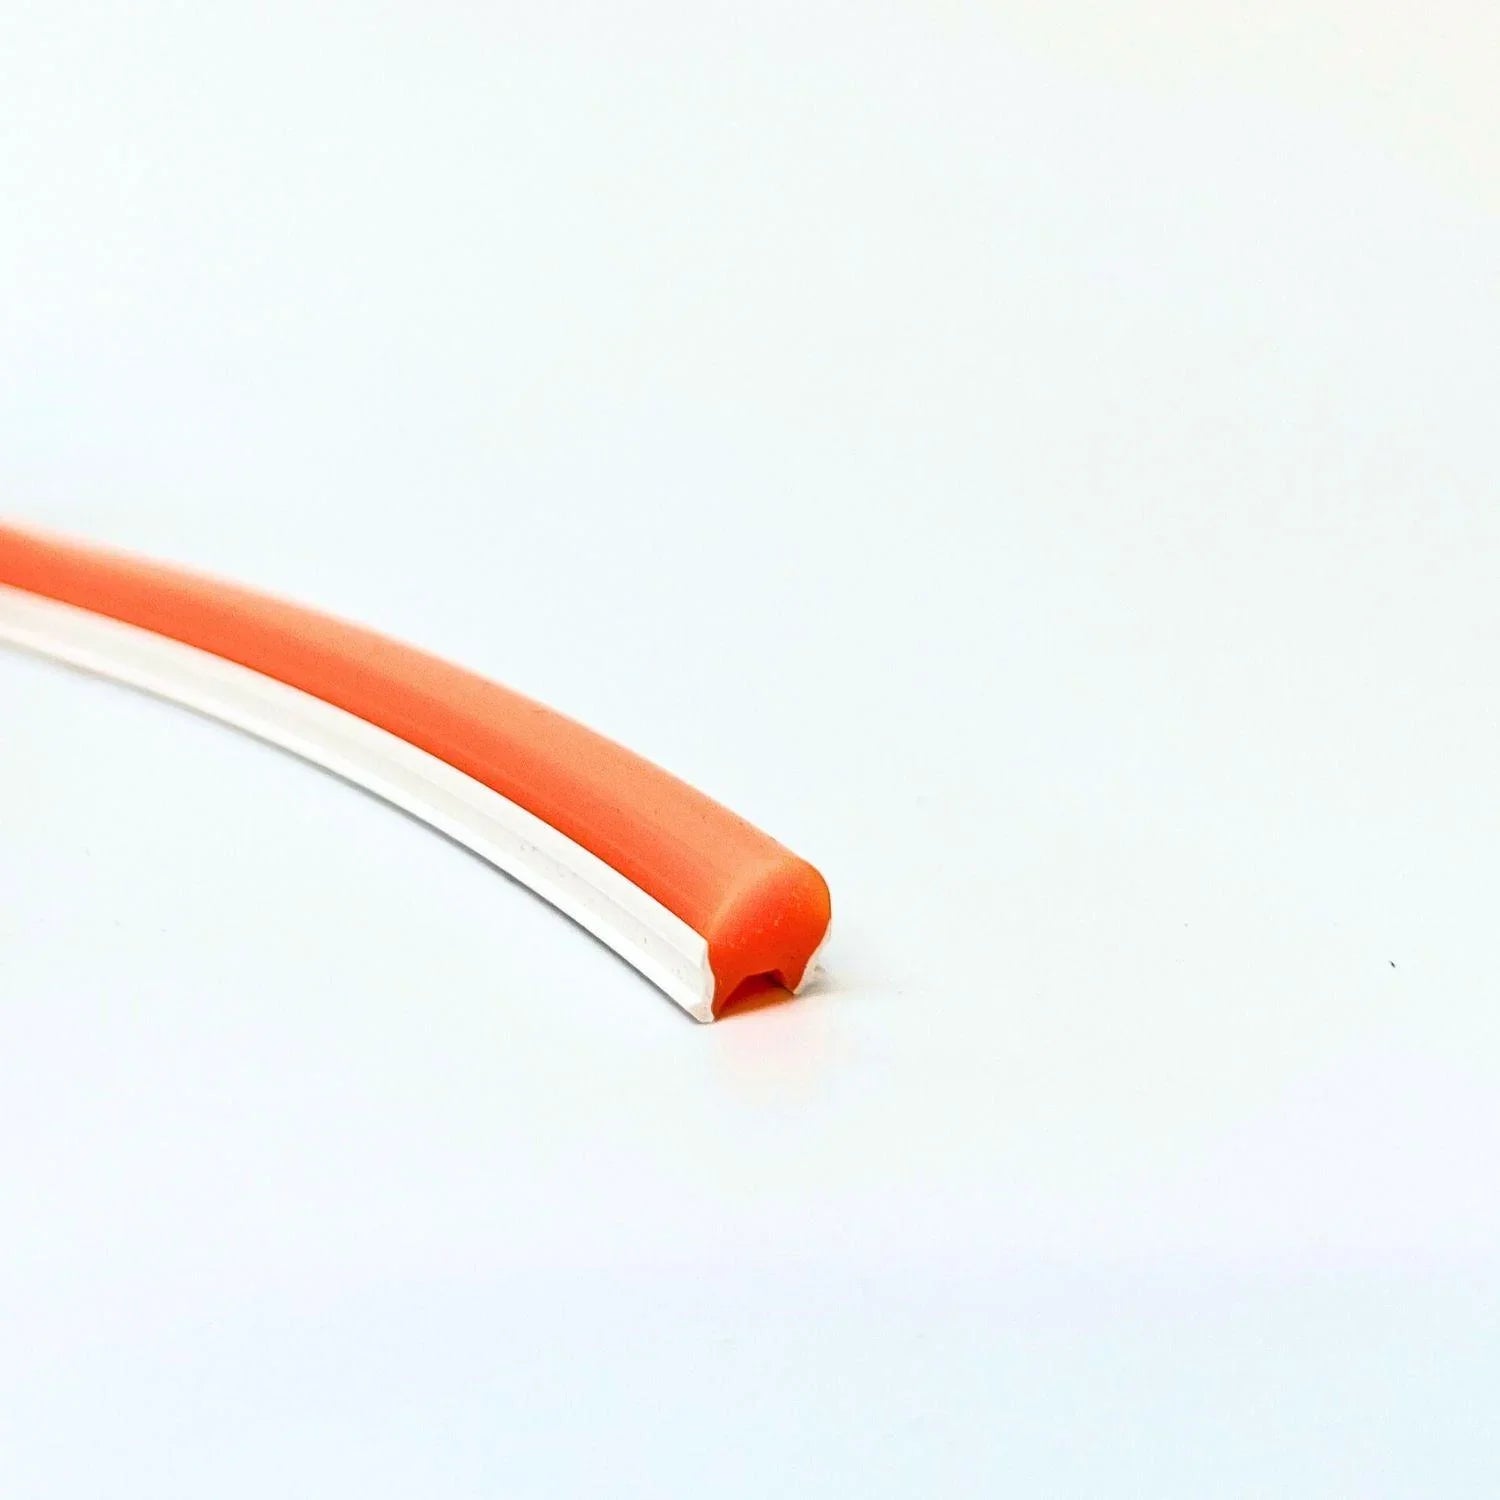
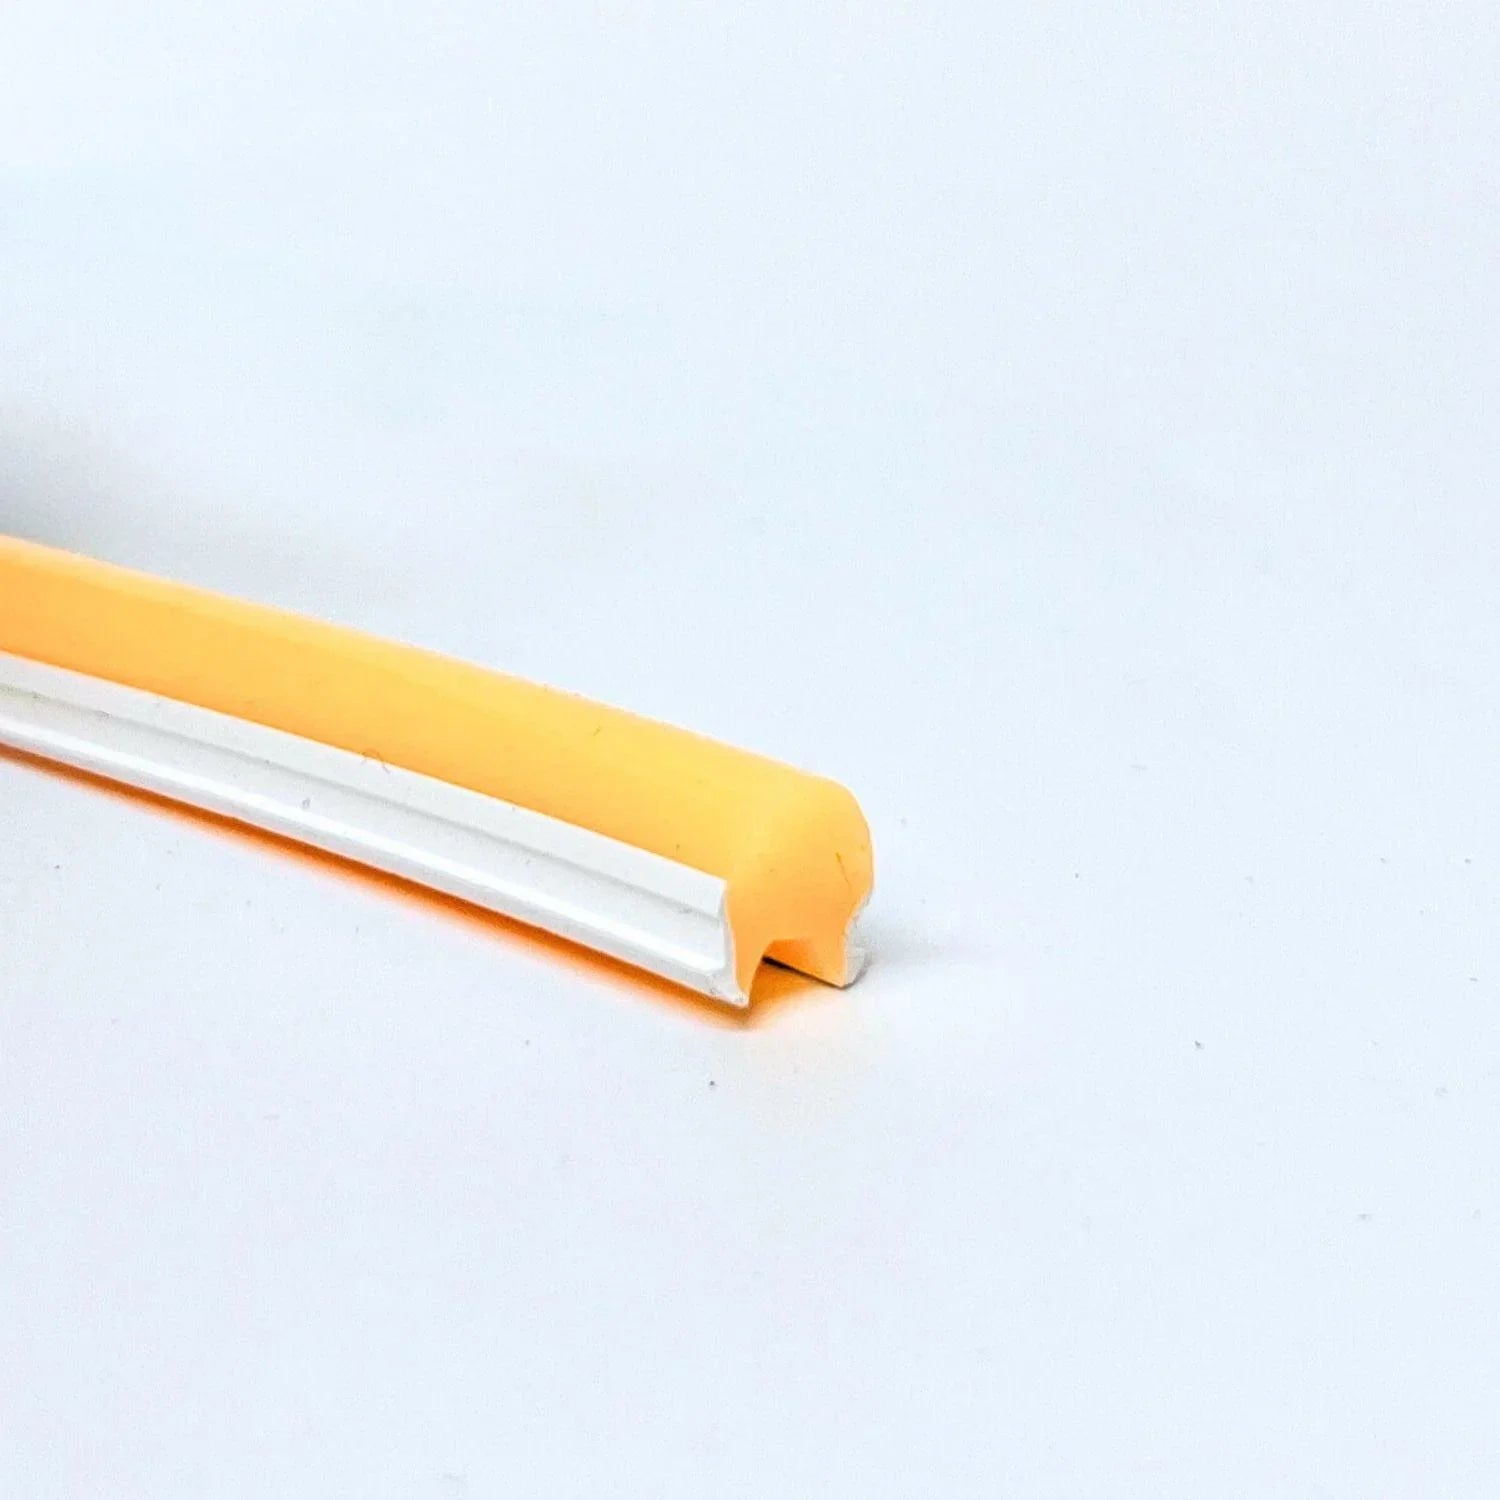
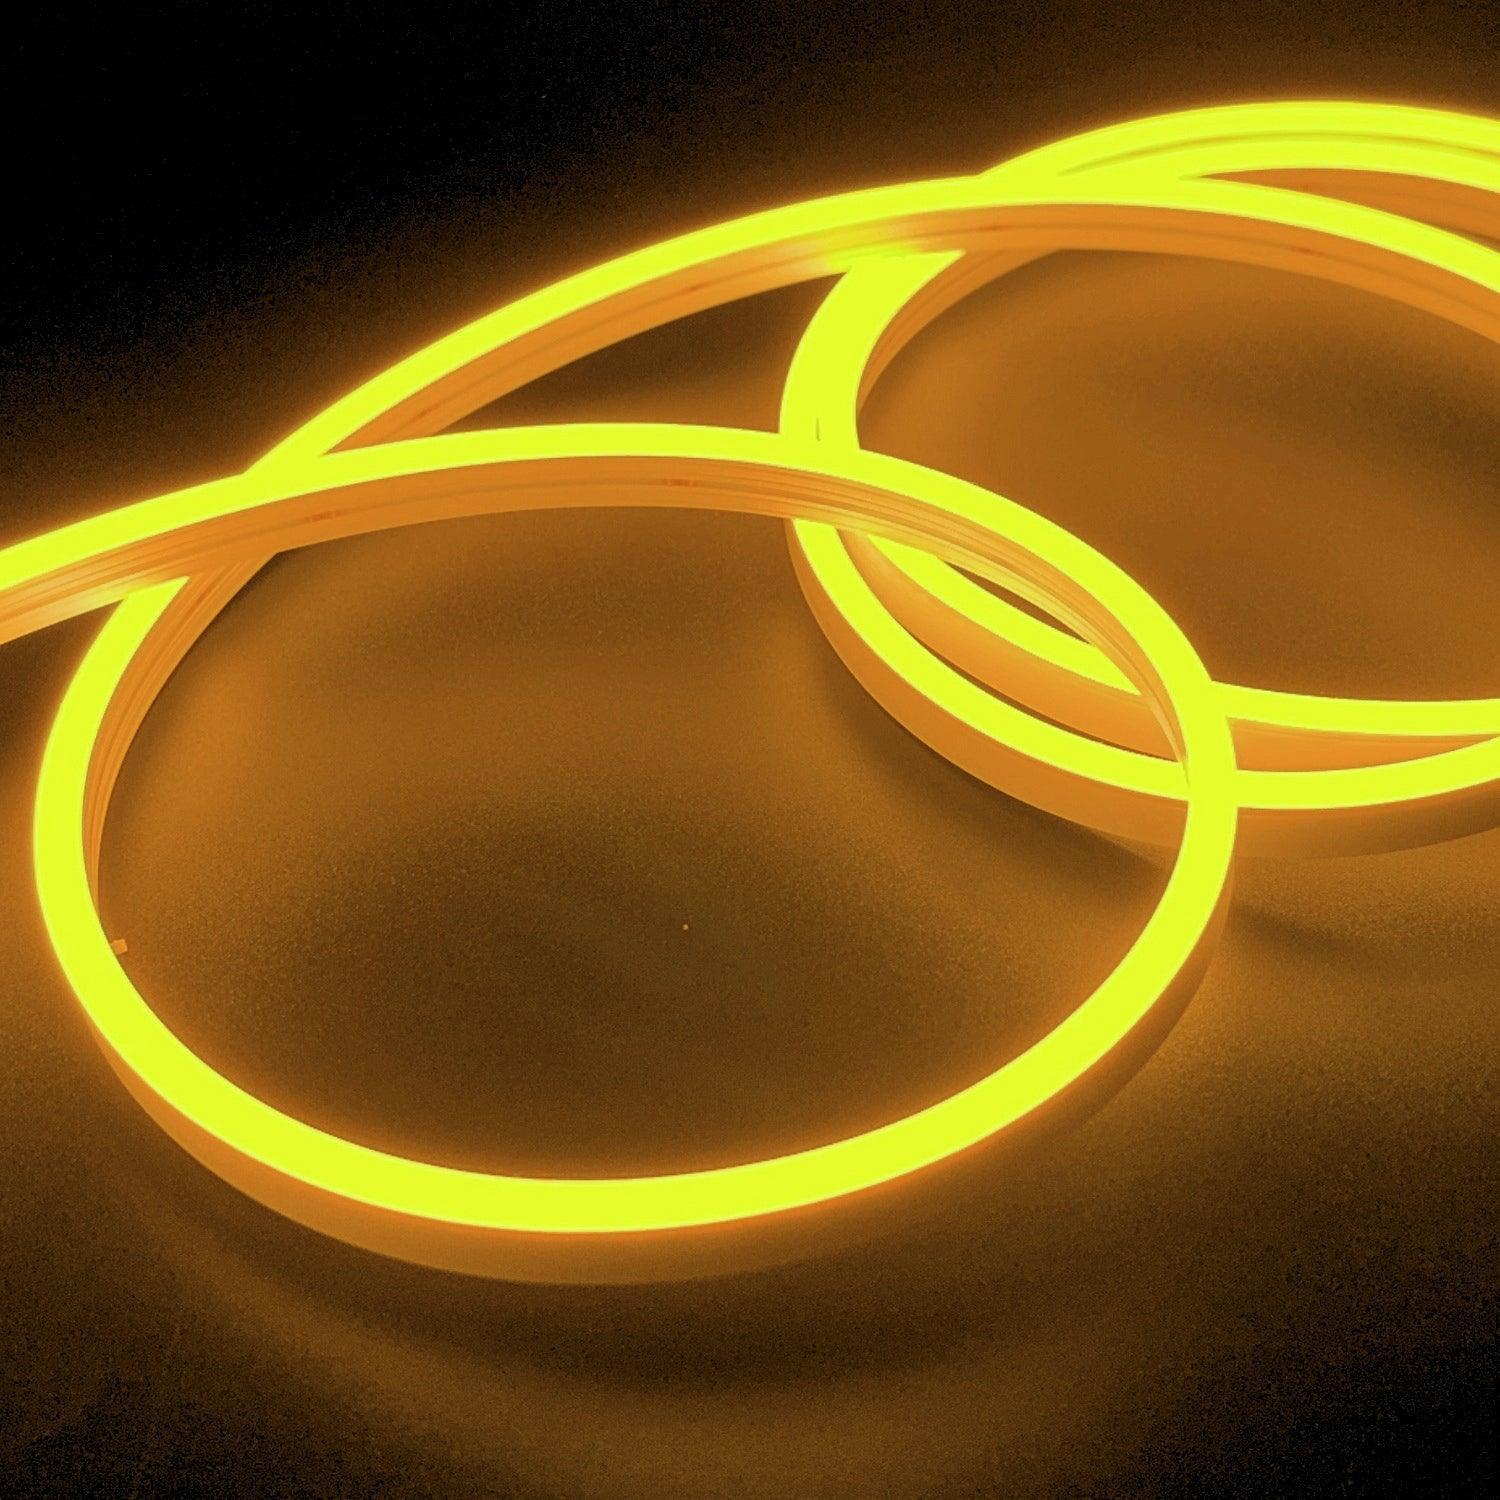
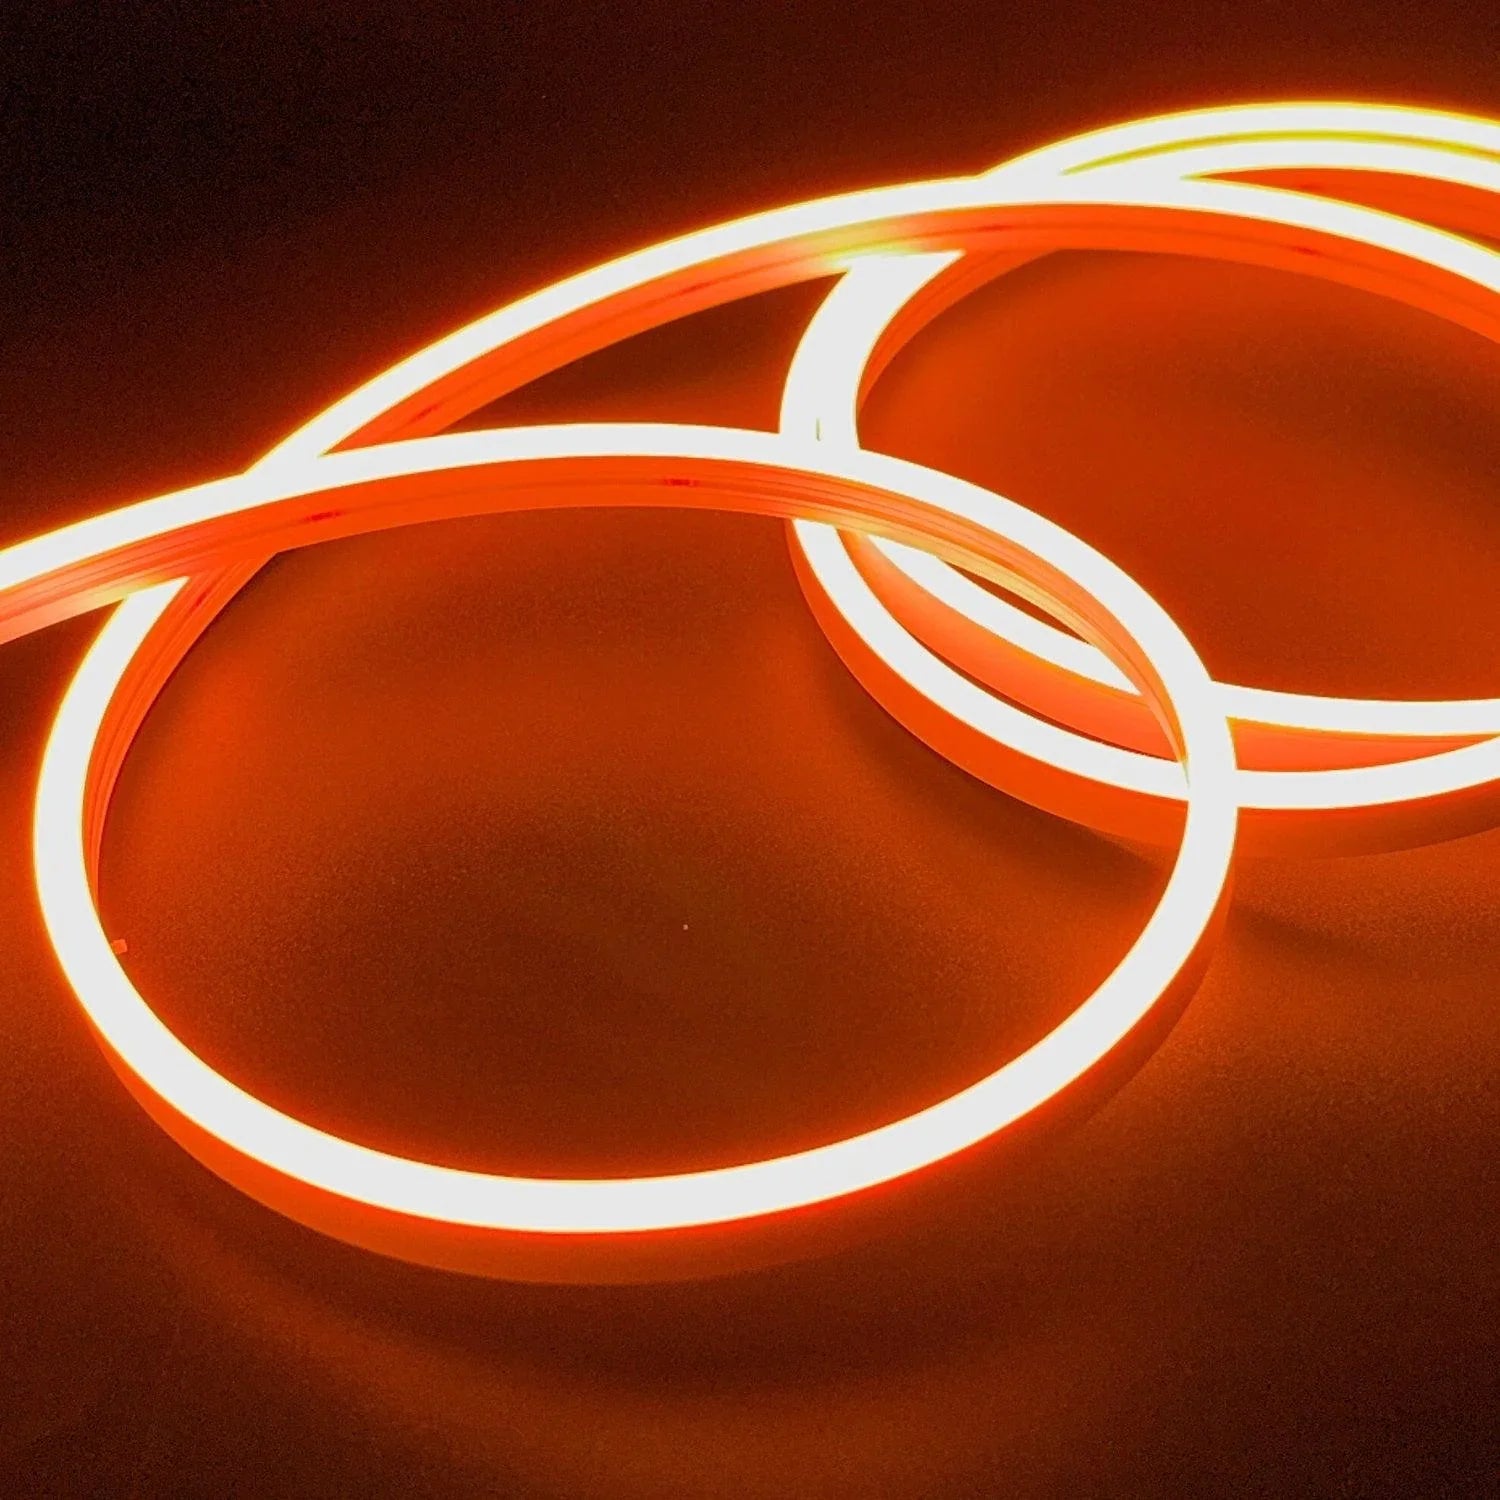
Orange Silicone Neon Flex Tube Diffuser Body for LED Strip Lights Neon Signs 8mm
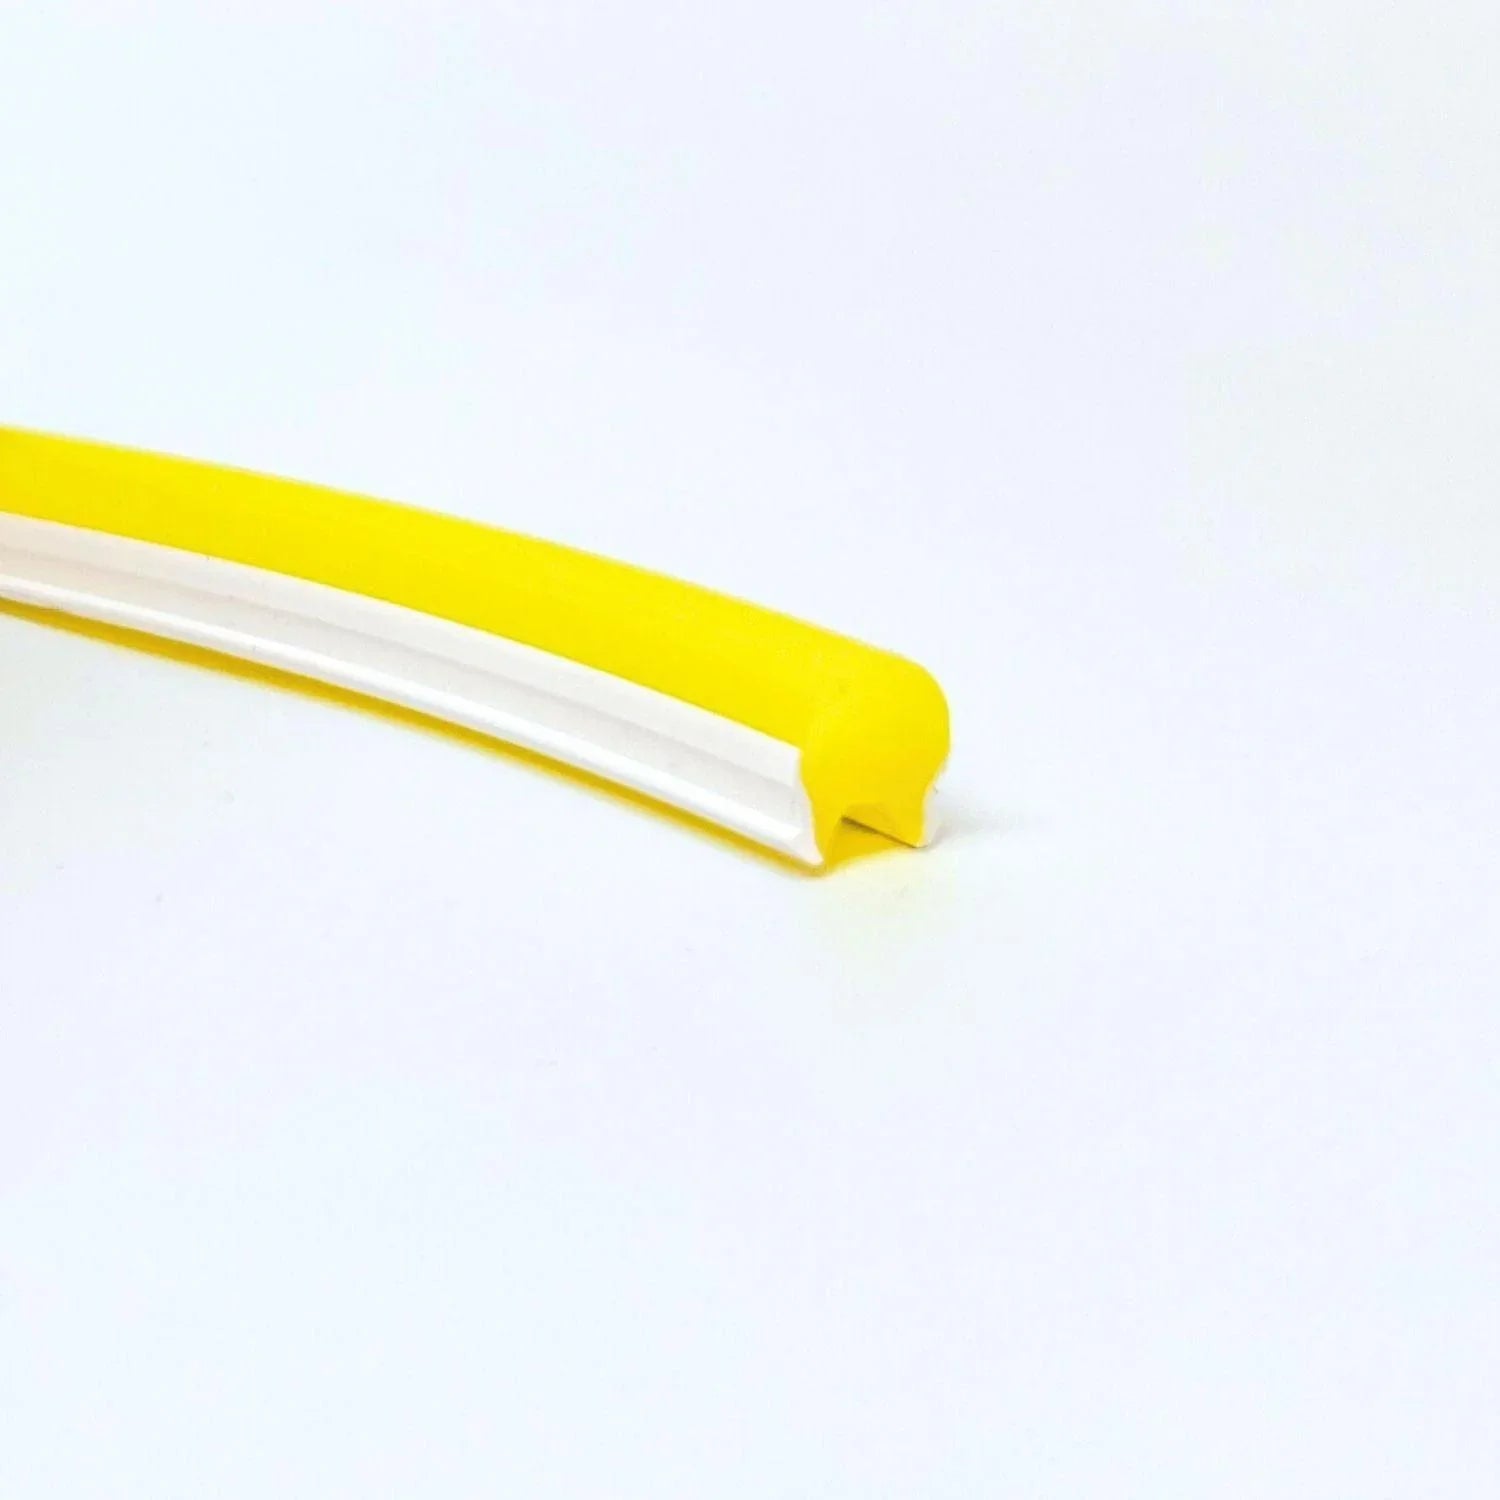
Lemon Yellow Silicone Neon Flex Tube Diffuser Body for LED Strip Lights Neon Signs 8mm
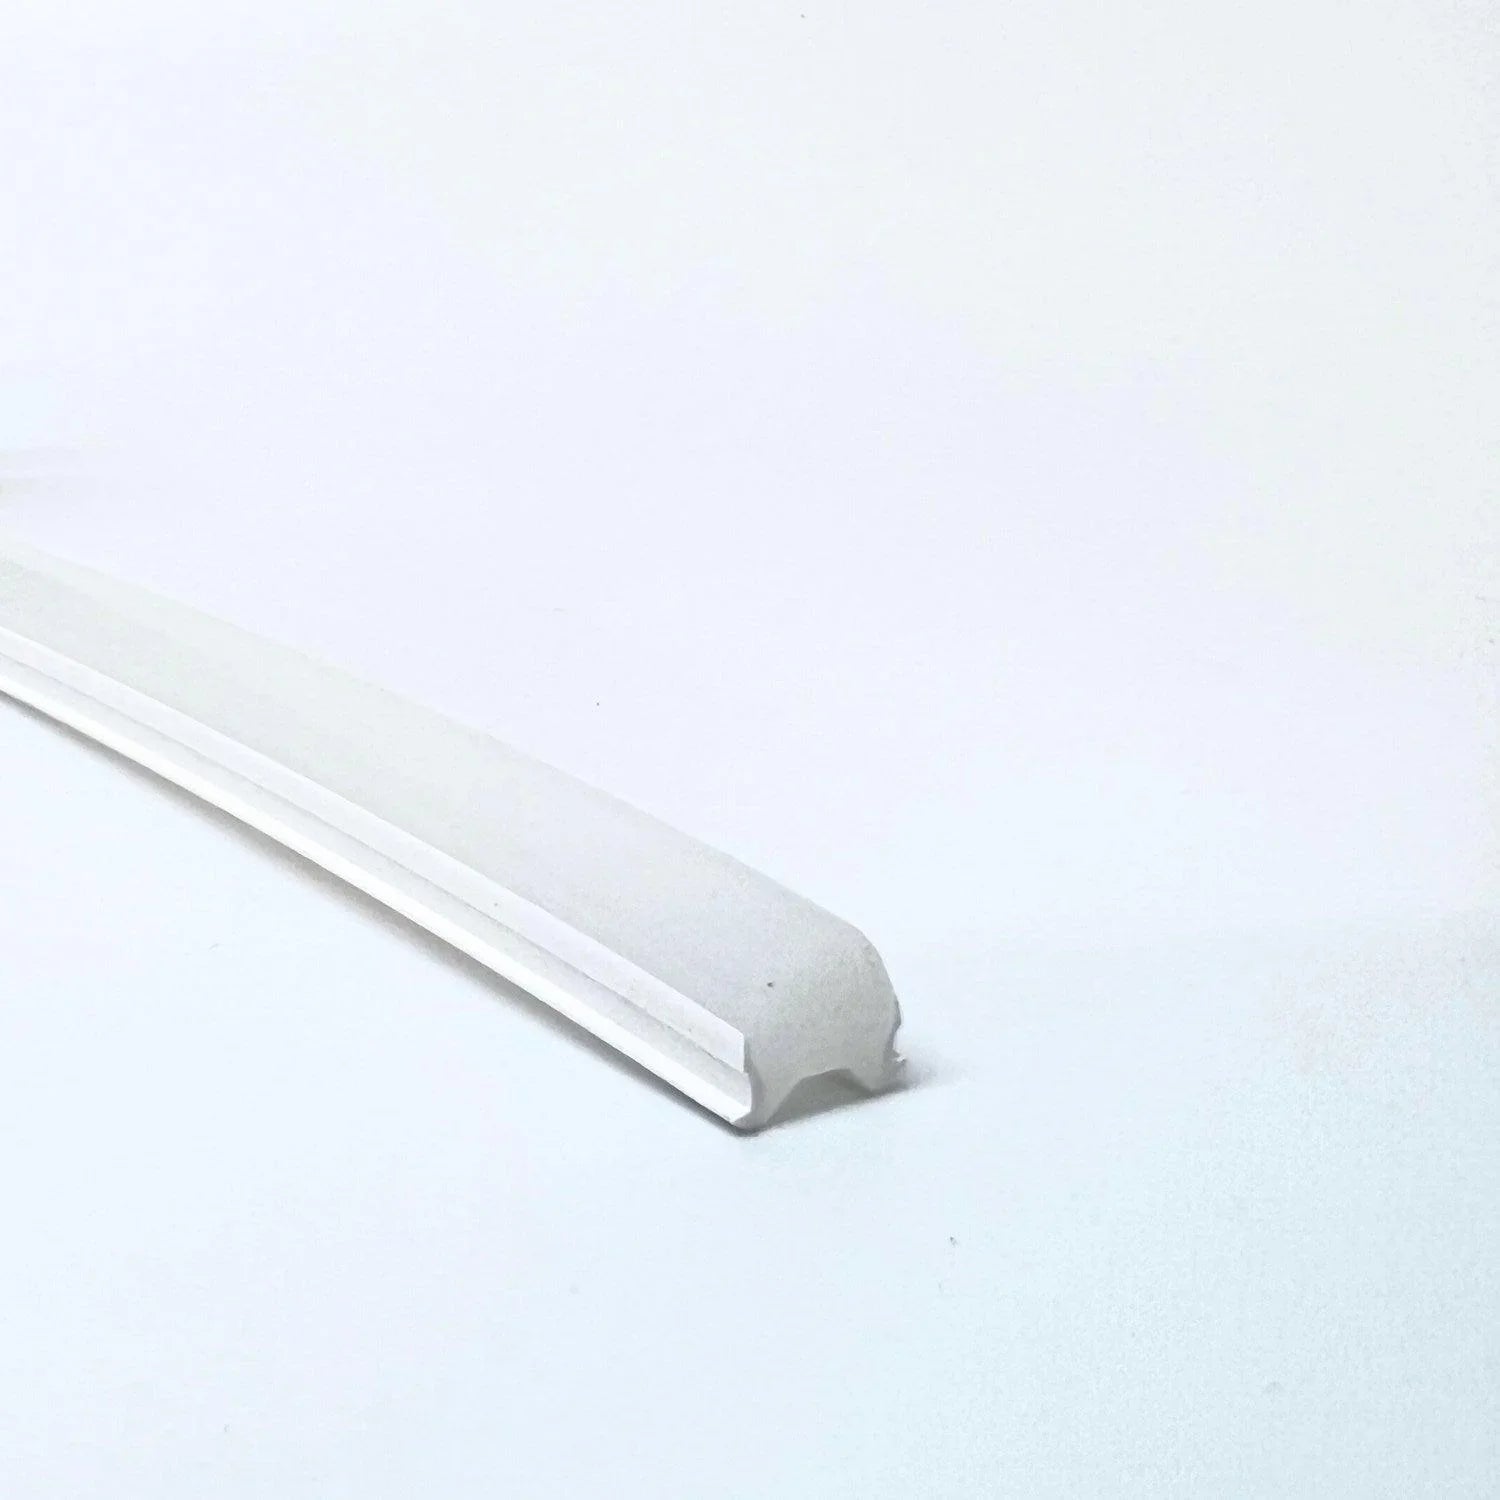
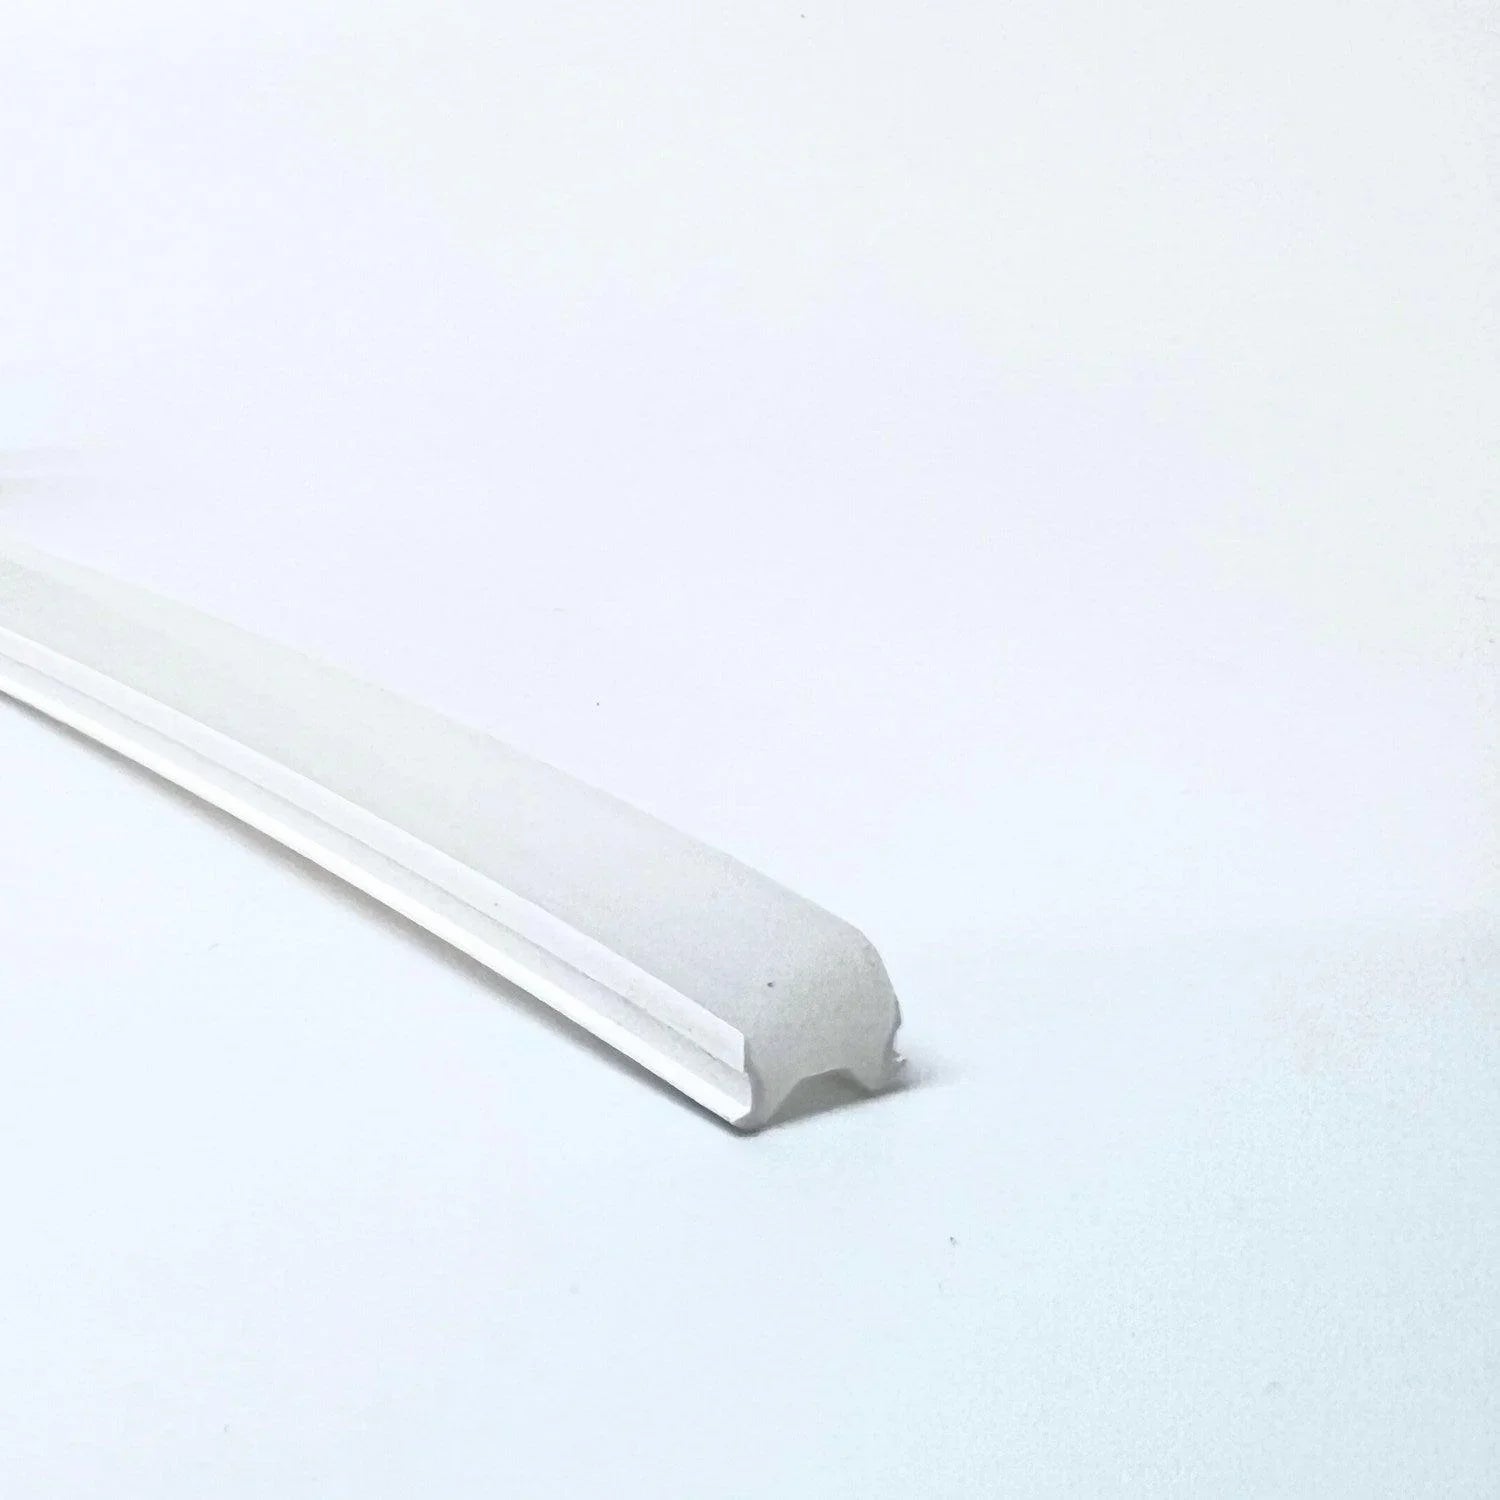
Natural White Silicone Neon Flex Tube Diffuser Body for LED Strip Lights Neon Signs 8mm
Cool White Silicone Neon Flex Tube Diffuser Body for LED Strip Lights Neon Signs 8mm
Warm White Silicone Neon Flex Tube Diffuser Body for LED Strip Lights Neon Signs 8mm
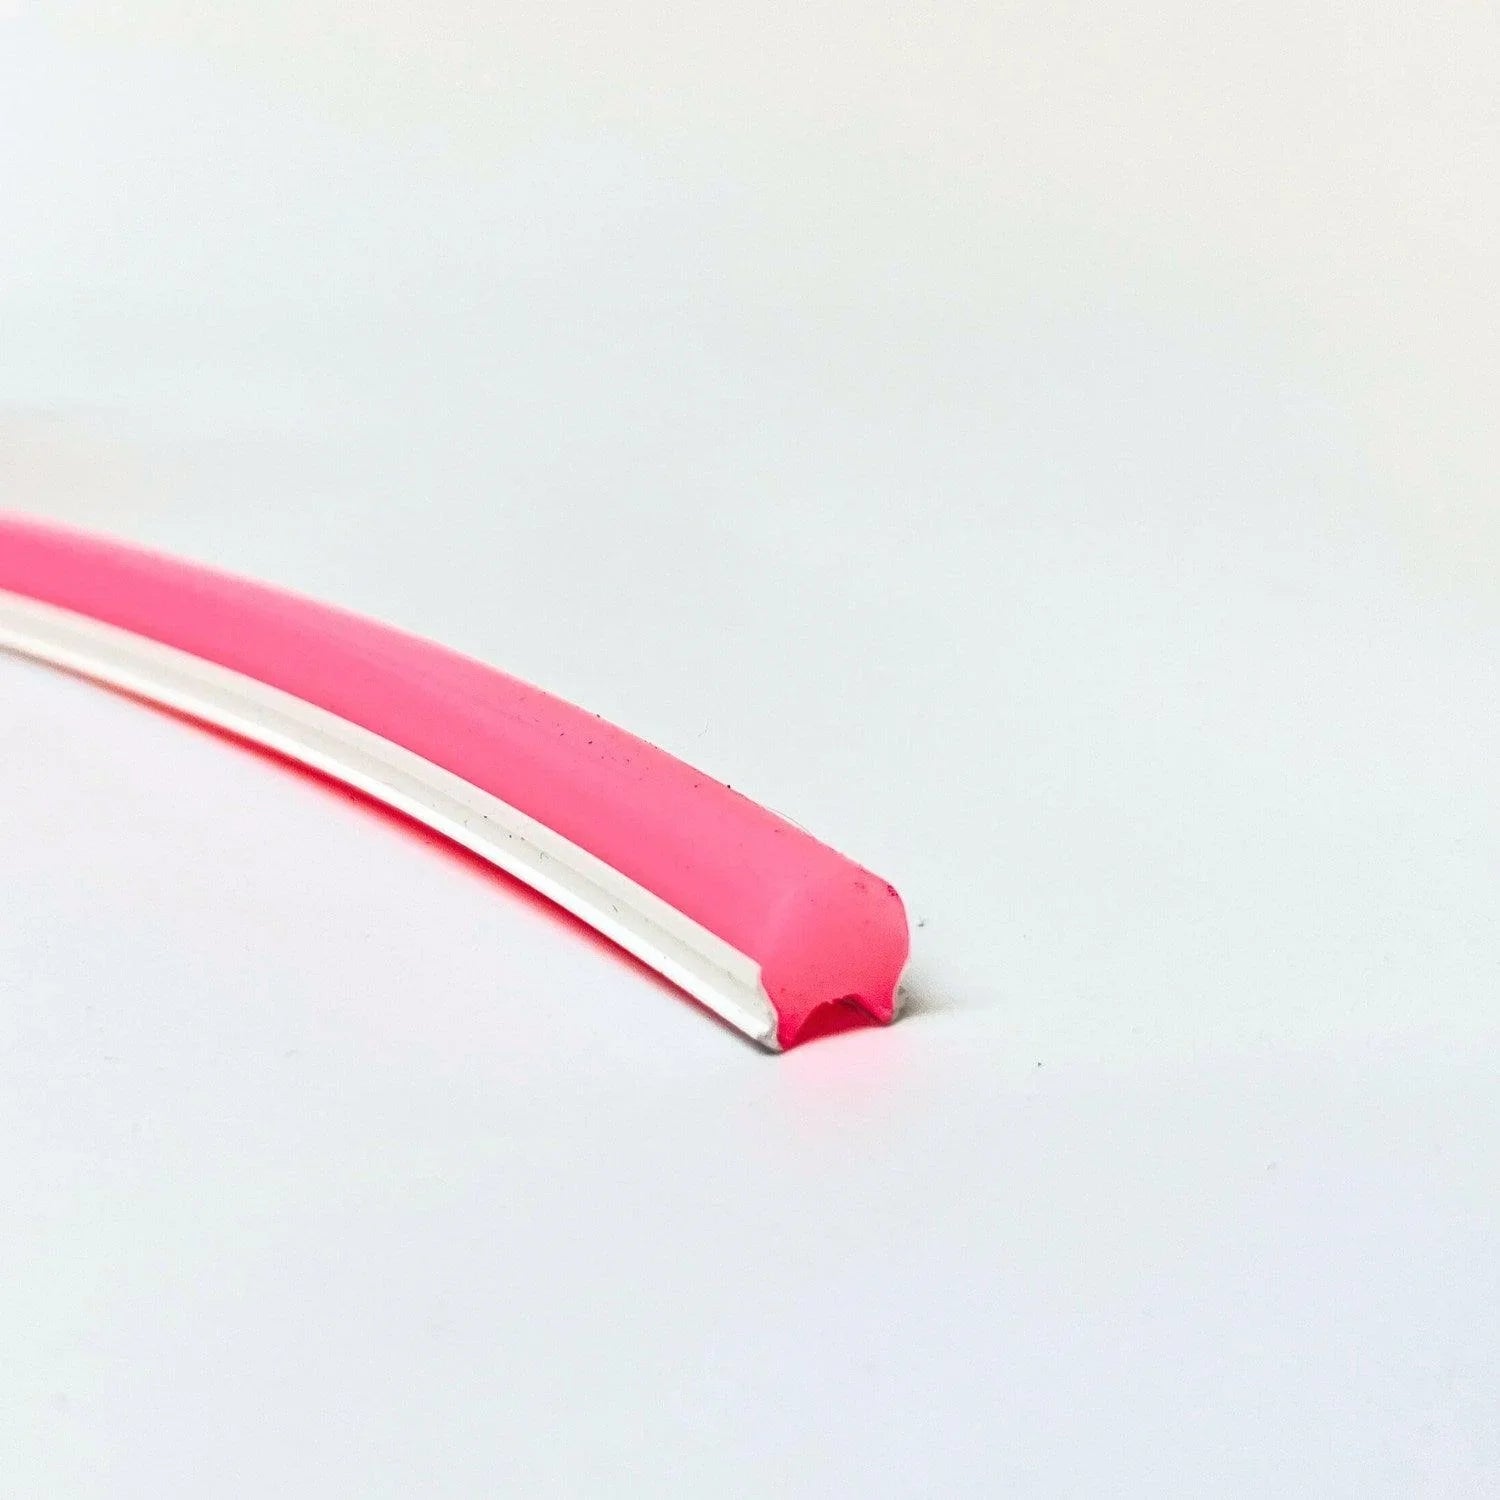
Pink Silicone Neon Flex Tube Diffuser Body for LED Strip Lights Neon Signs 8mm
Yellow Silicone Neon Flex Tube Diffuser Body for LED Strip Lights Neon Signs 8mm
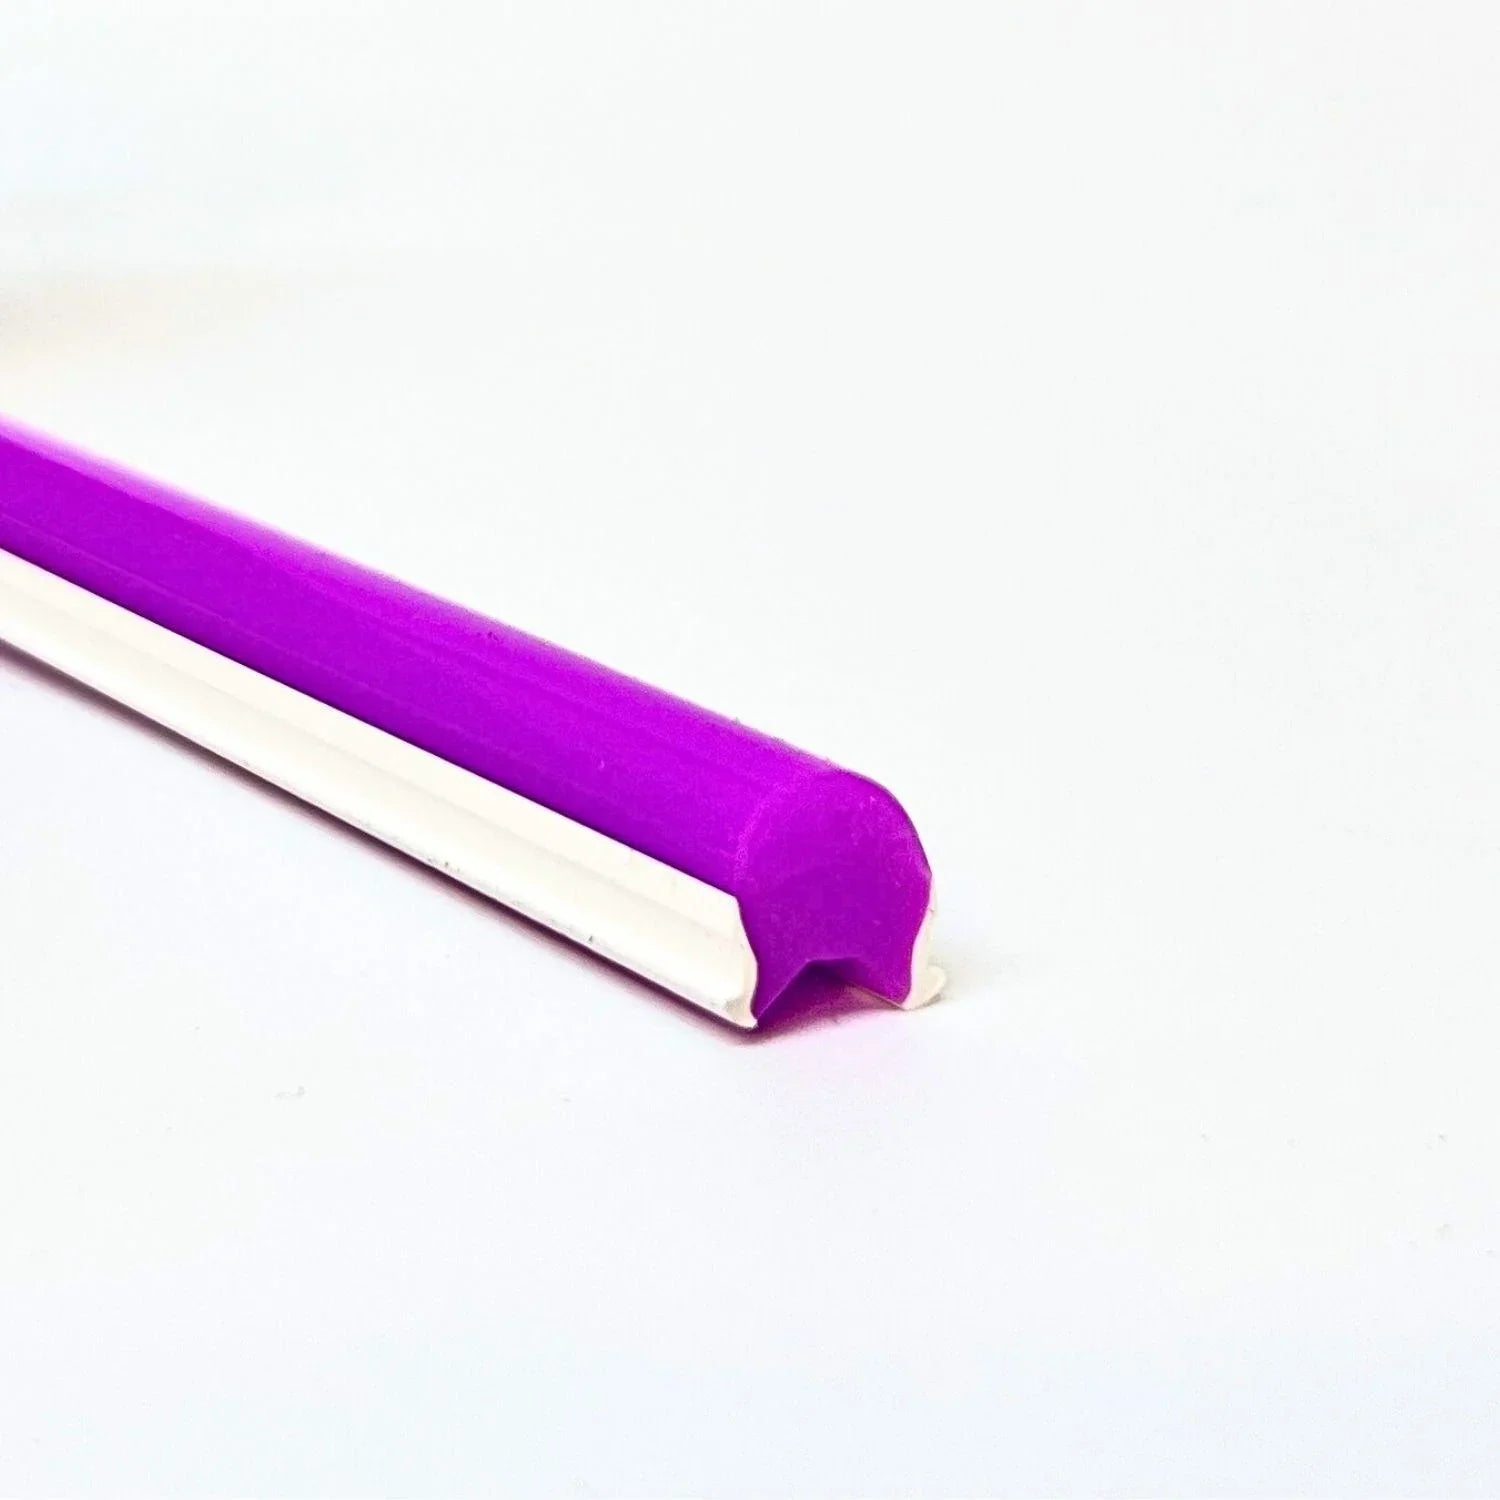
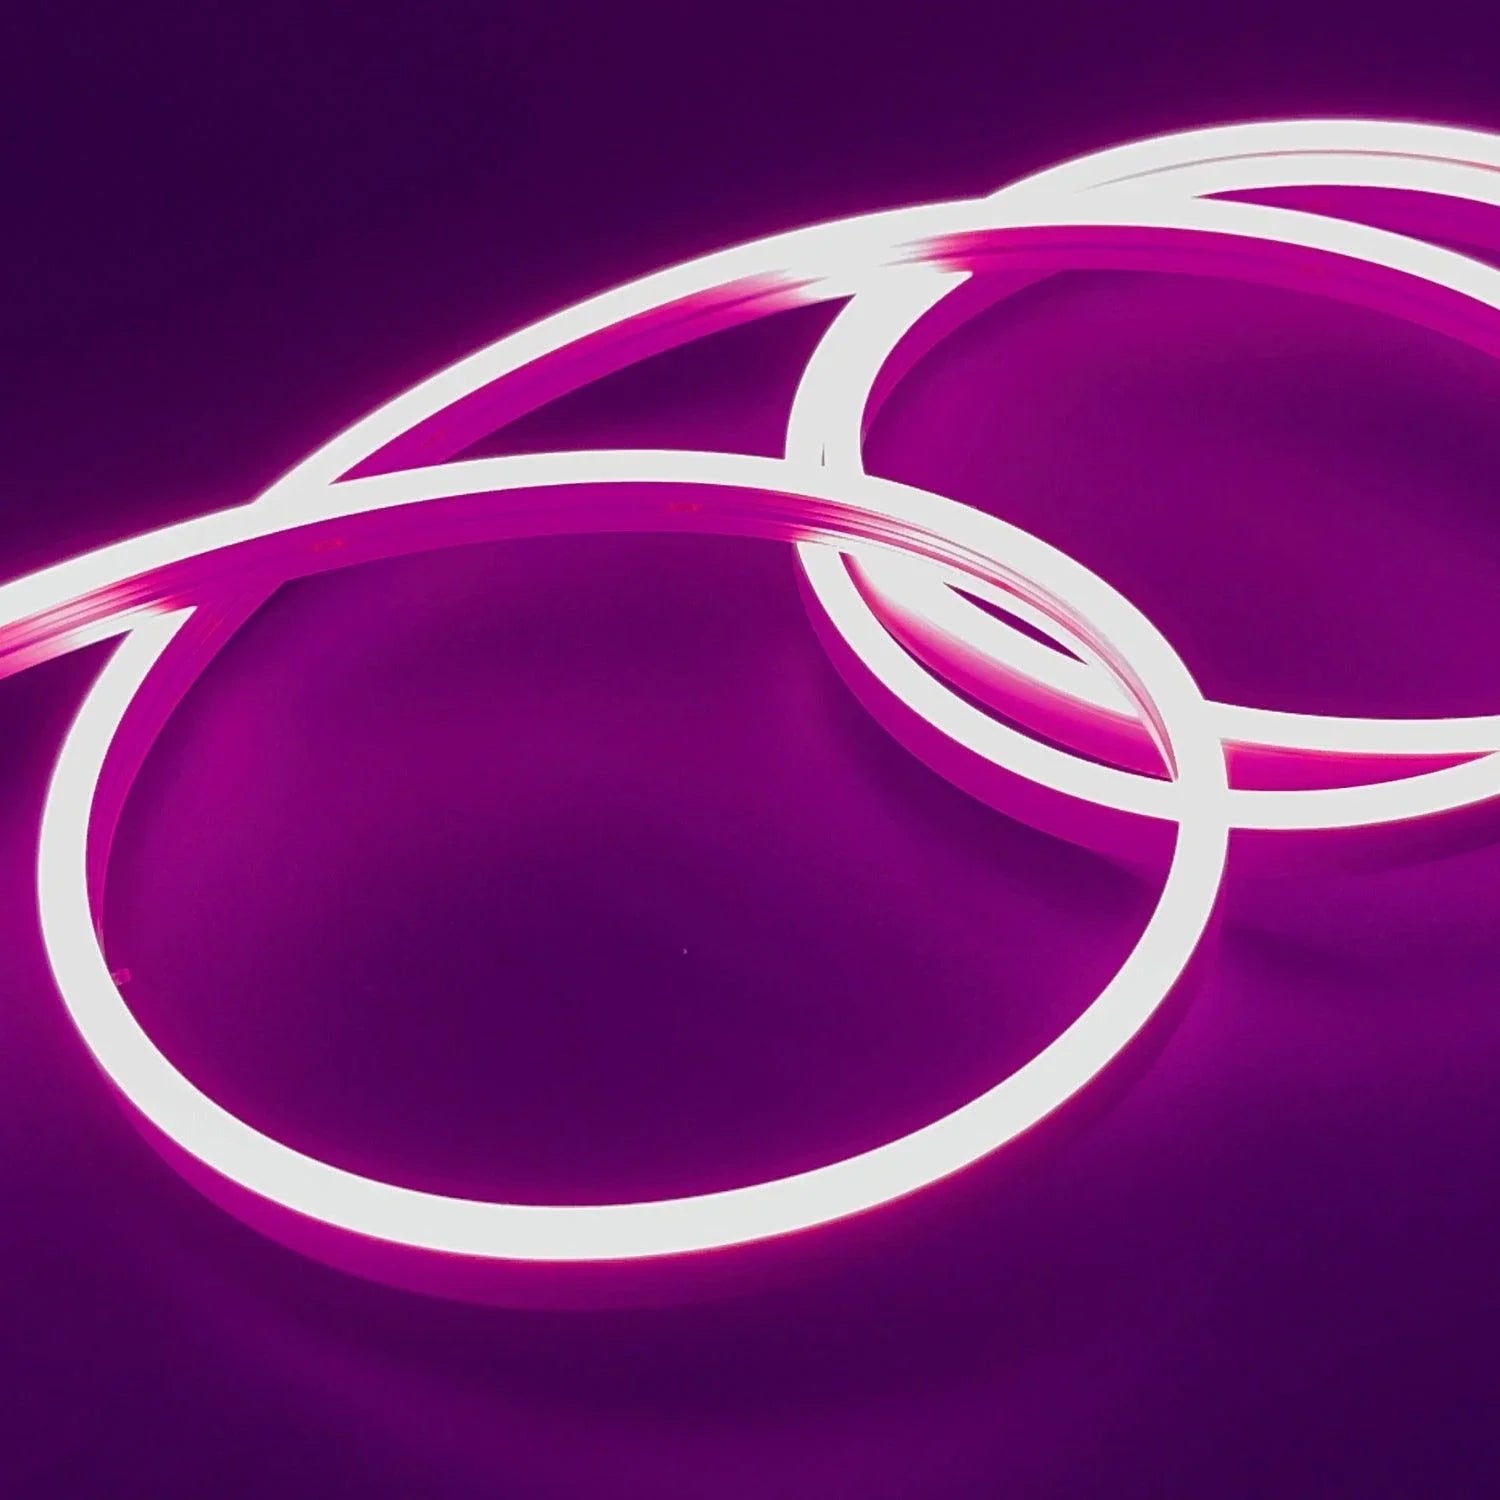
Purple Silicone Neon Flex Tube Diffuser Body for LED Strip Lights Neon Signs 8mm
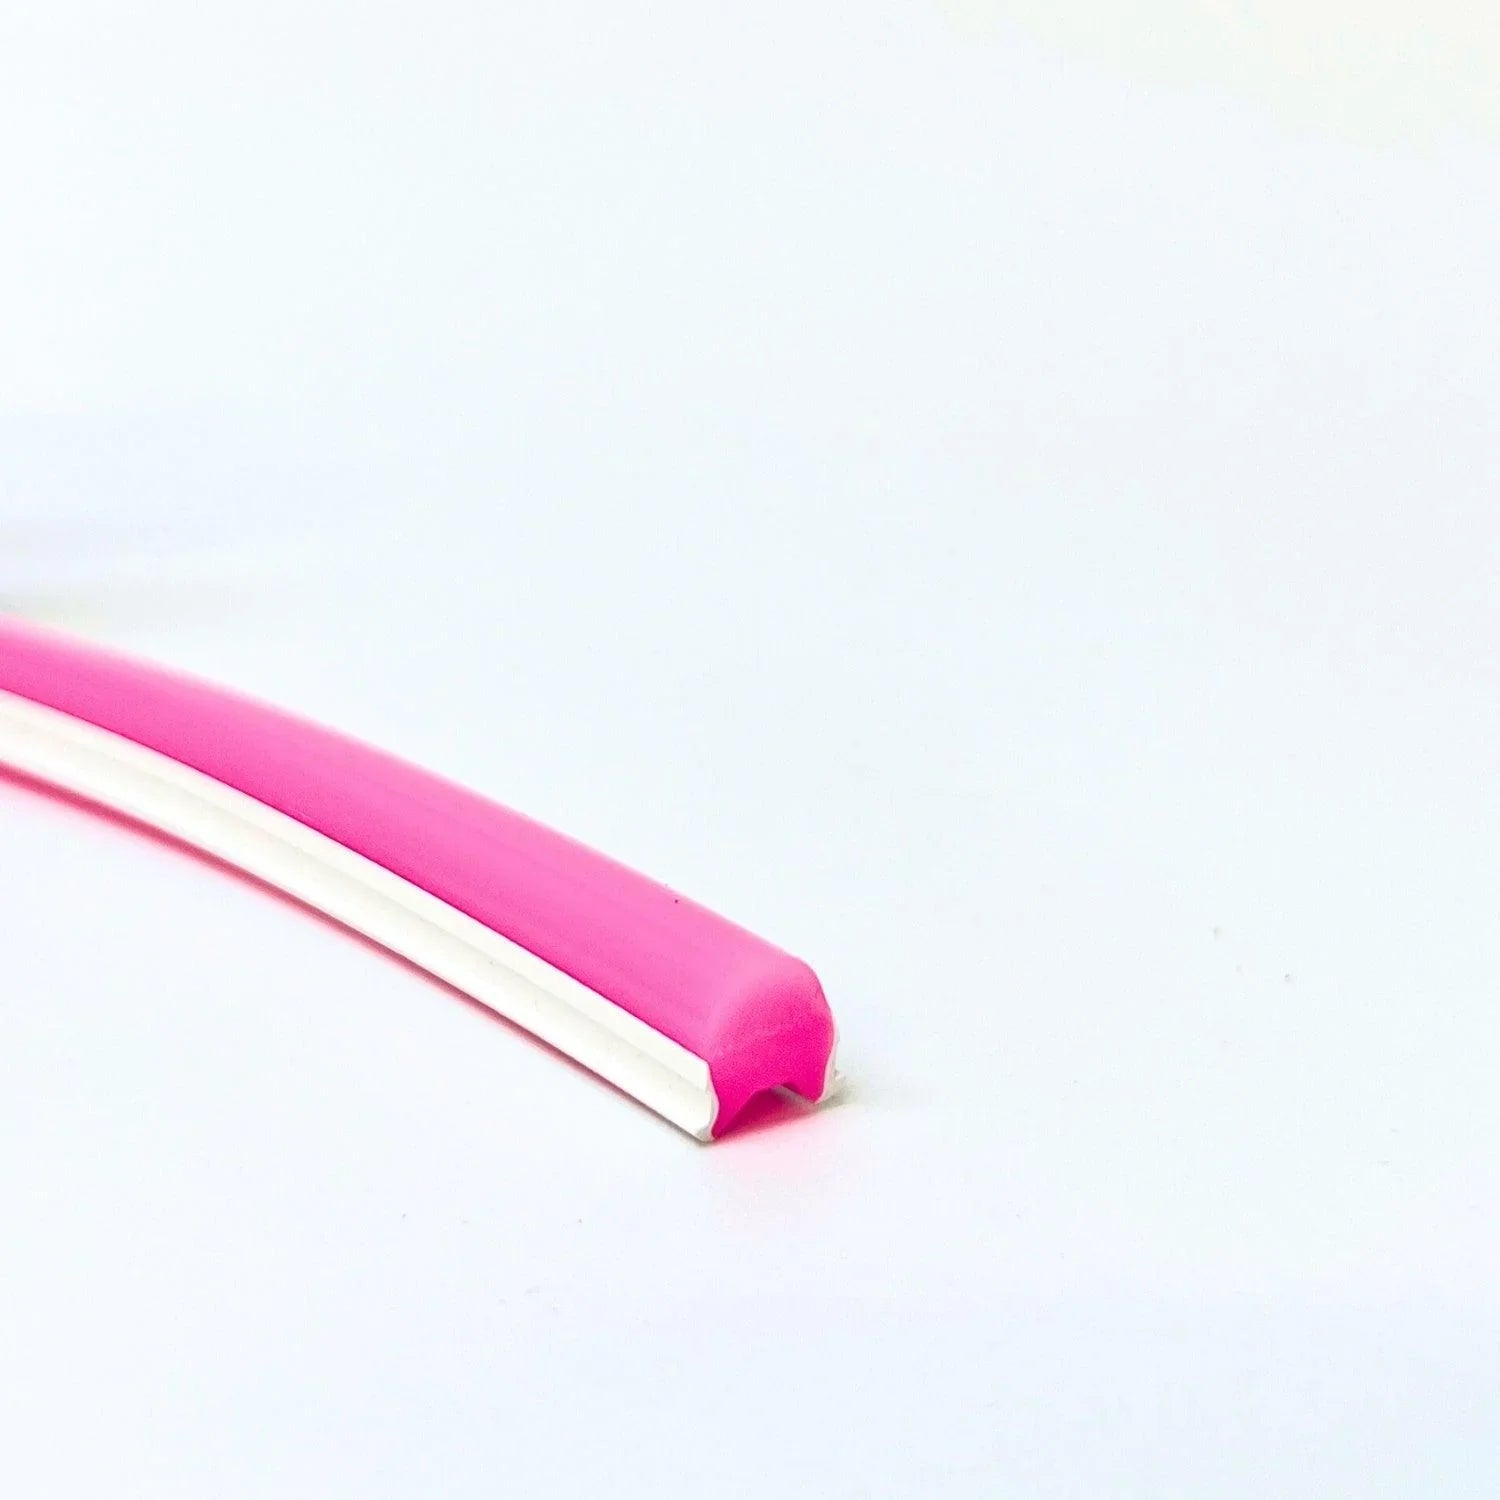
Pink Silicone Neon Flex Tube Diffuser Body for LED Strip Lights Neon Signs 8mm
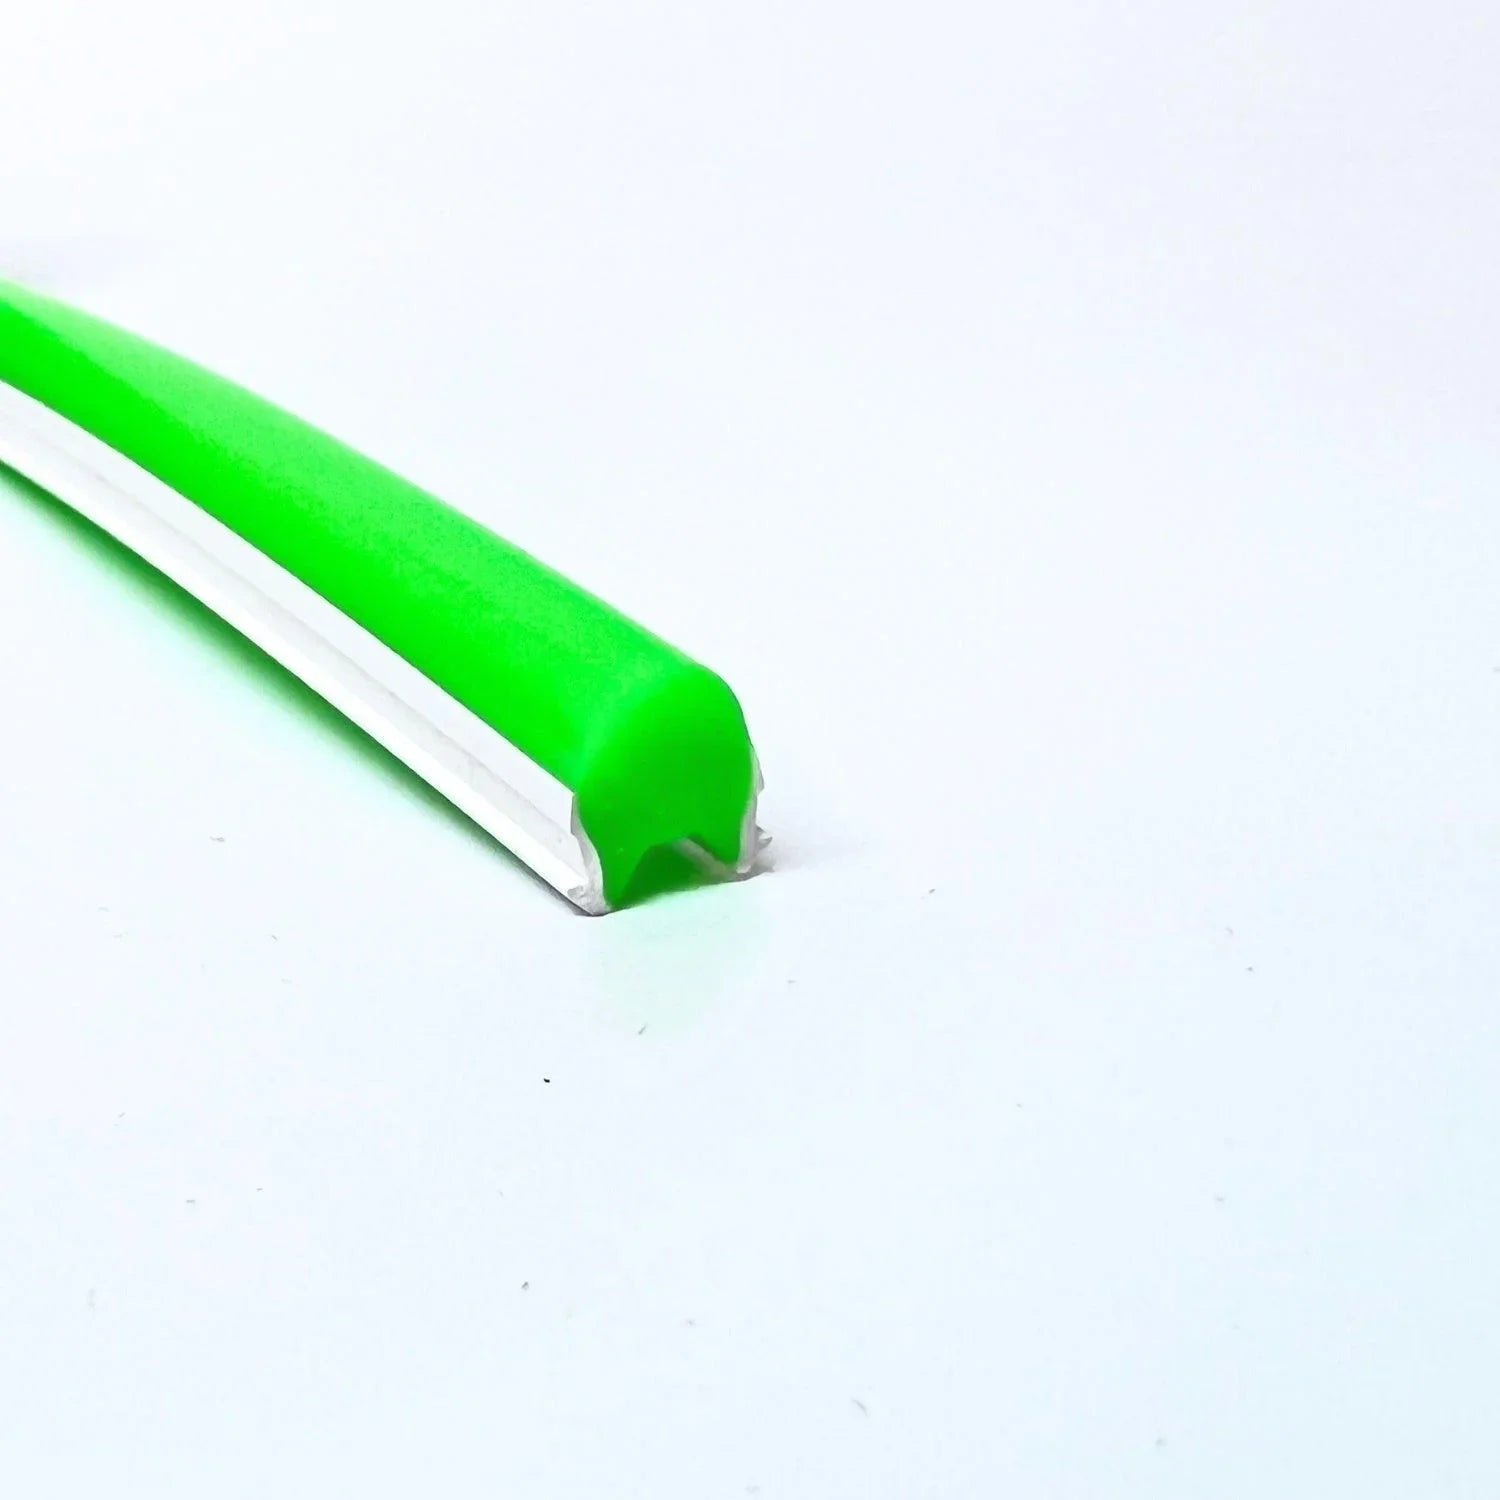
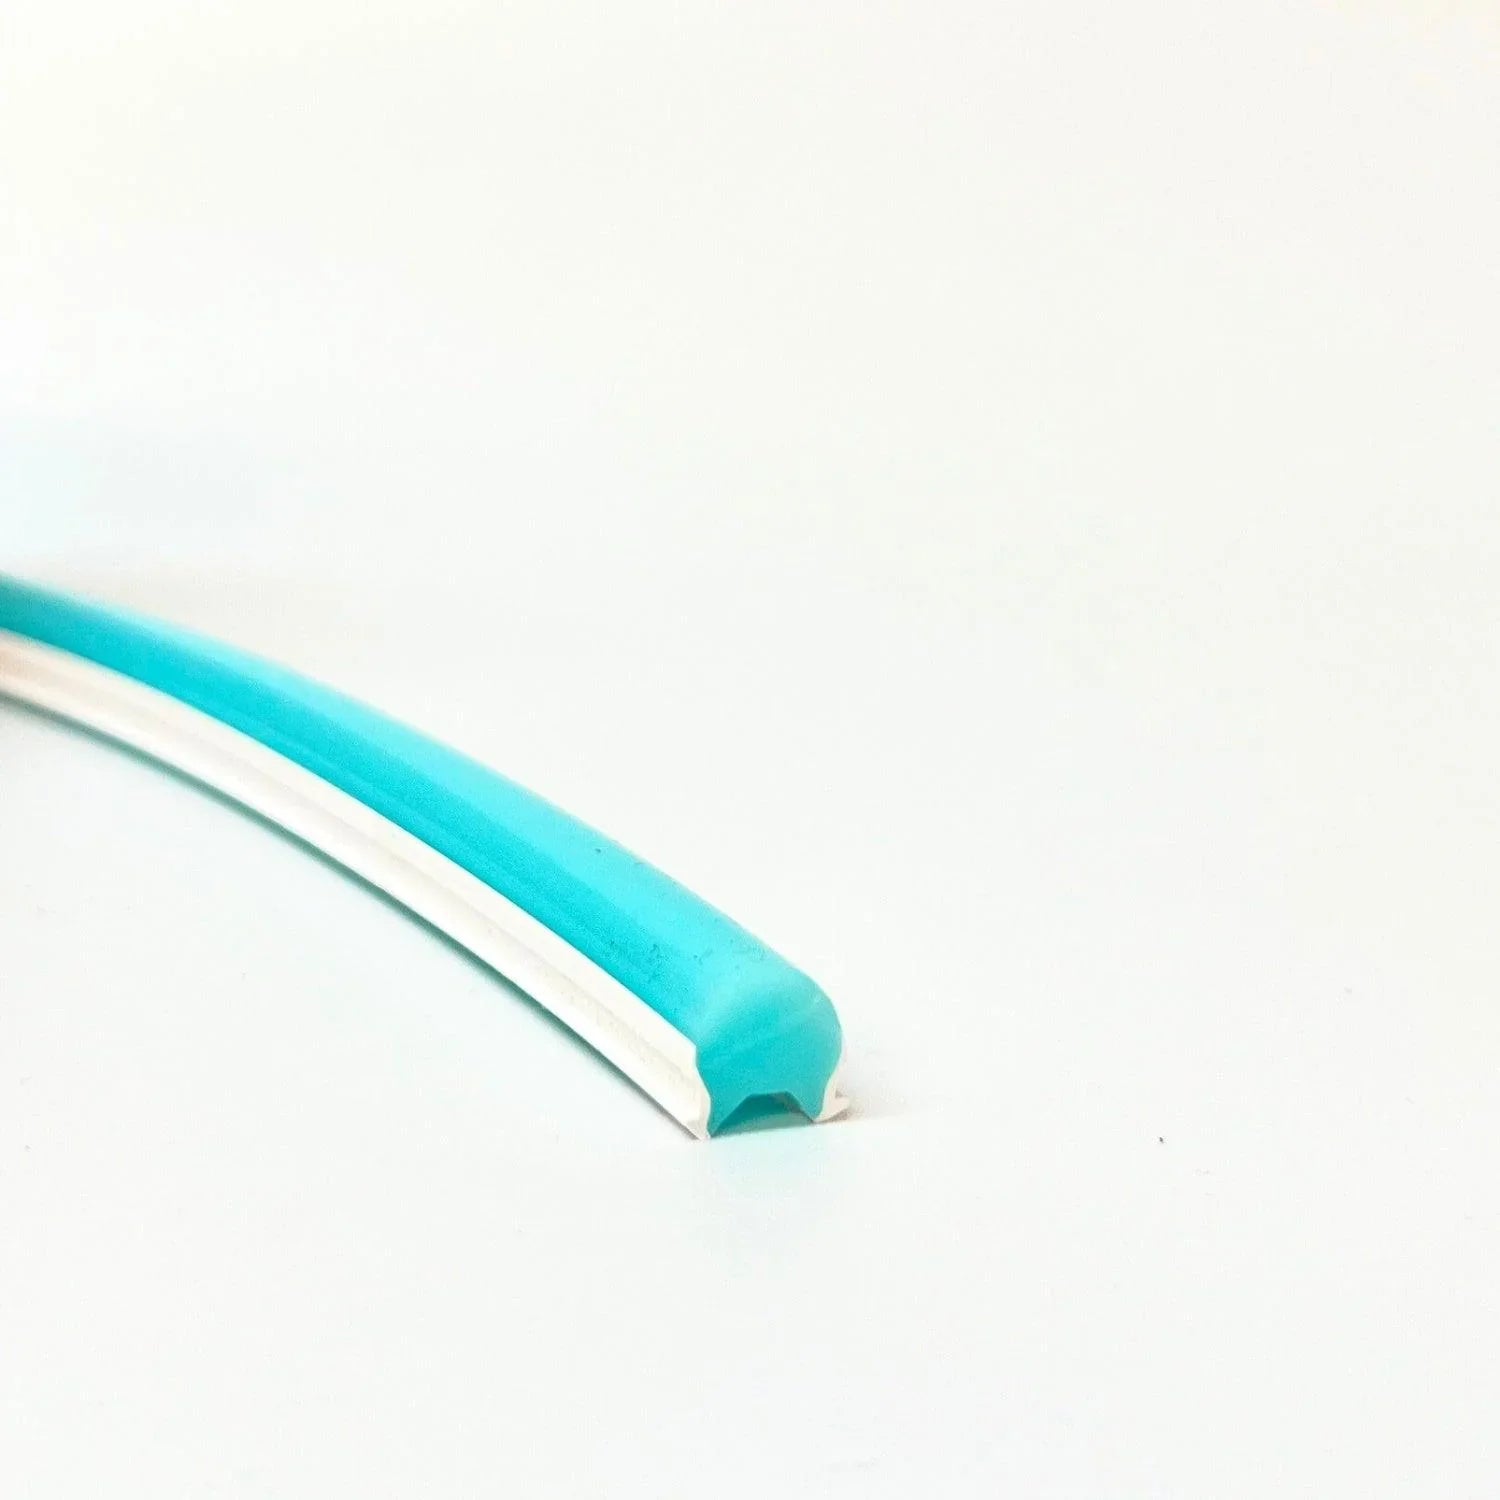
Green Silicone Neon Flex Tube Diffuser Body for LED Strip Lights Neon Signs 8mm
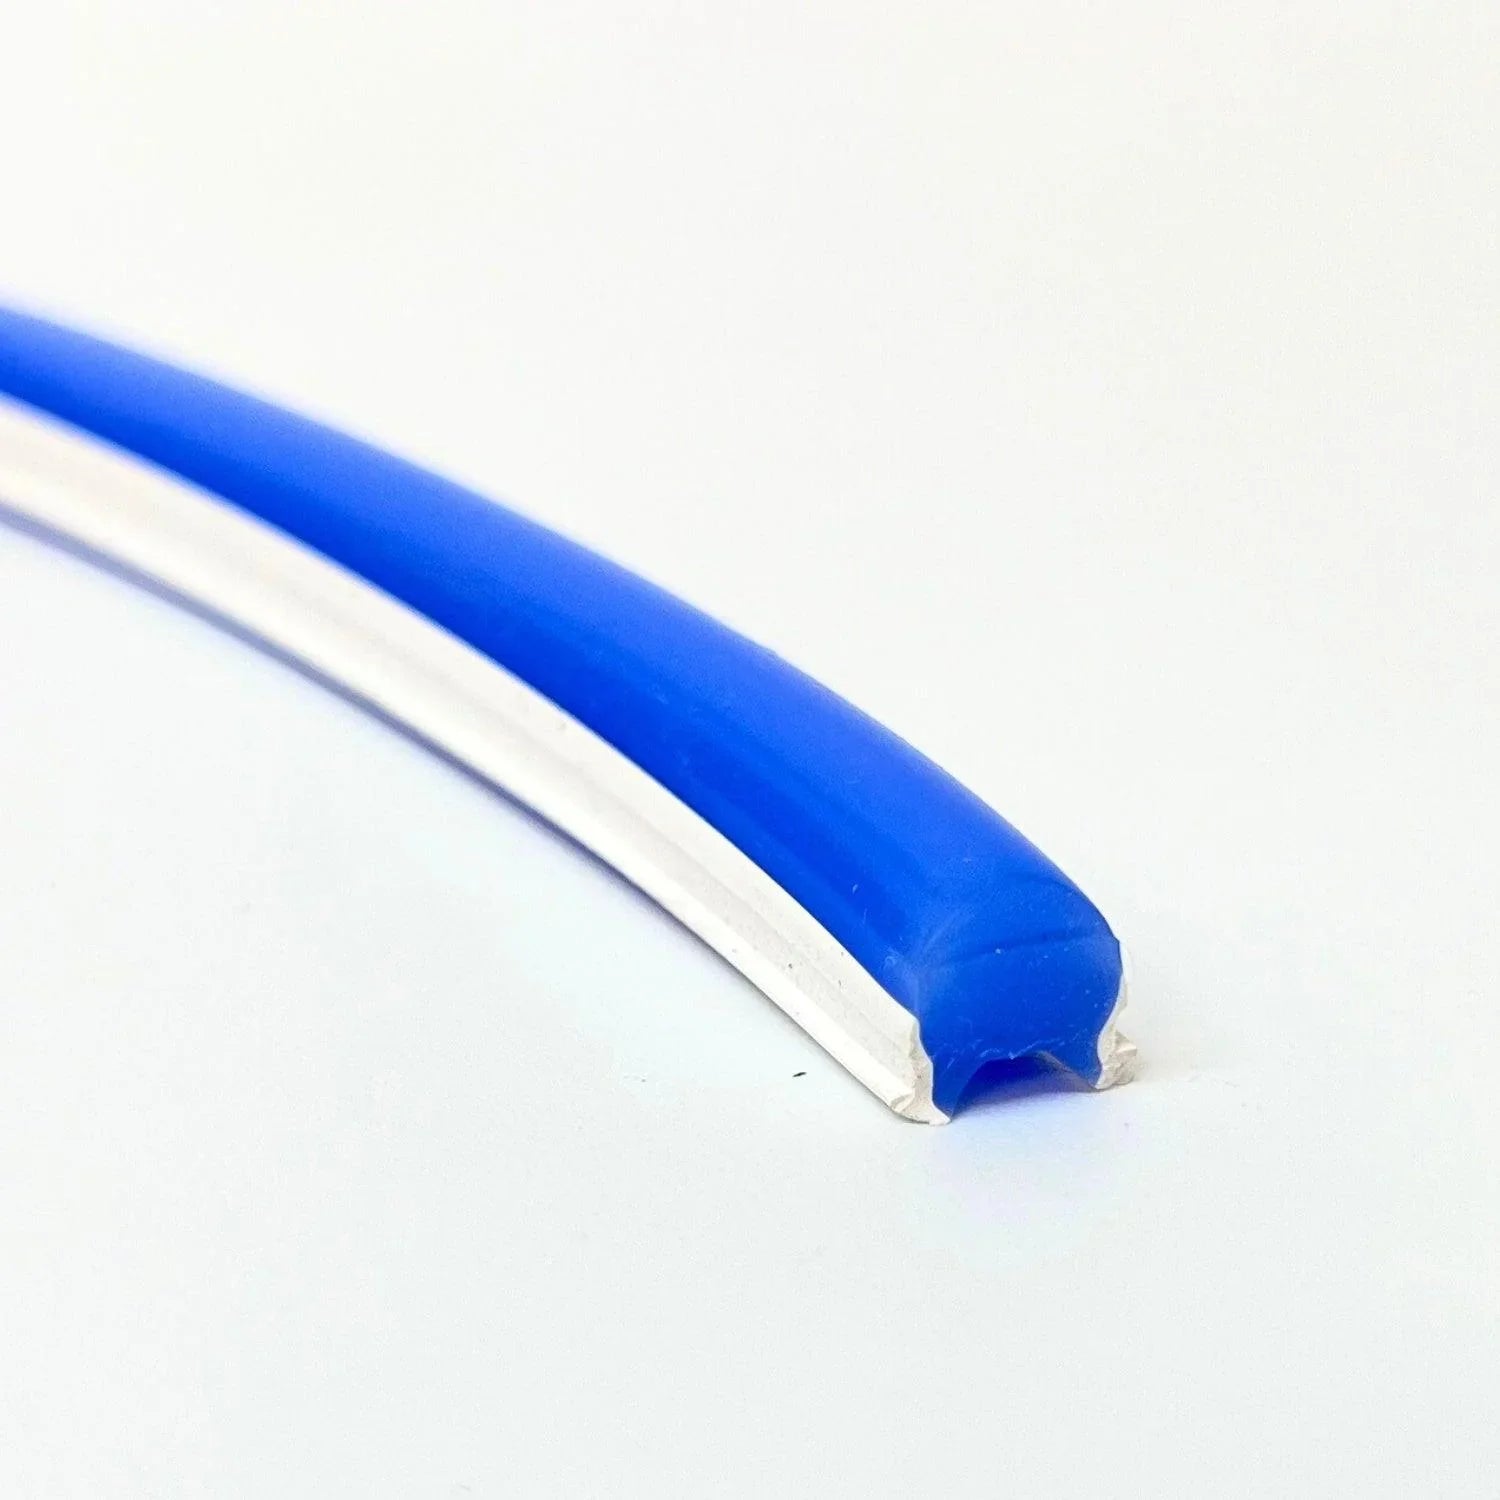
Blue Silicone Neon Flex Tube Diffuser Body for LED Strip Lights Neon Signs 8mm
Ice Blue Silicone Neon Flex Tube Diffuser Body for LED Strip Lights Neon Signs 8mm
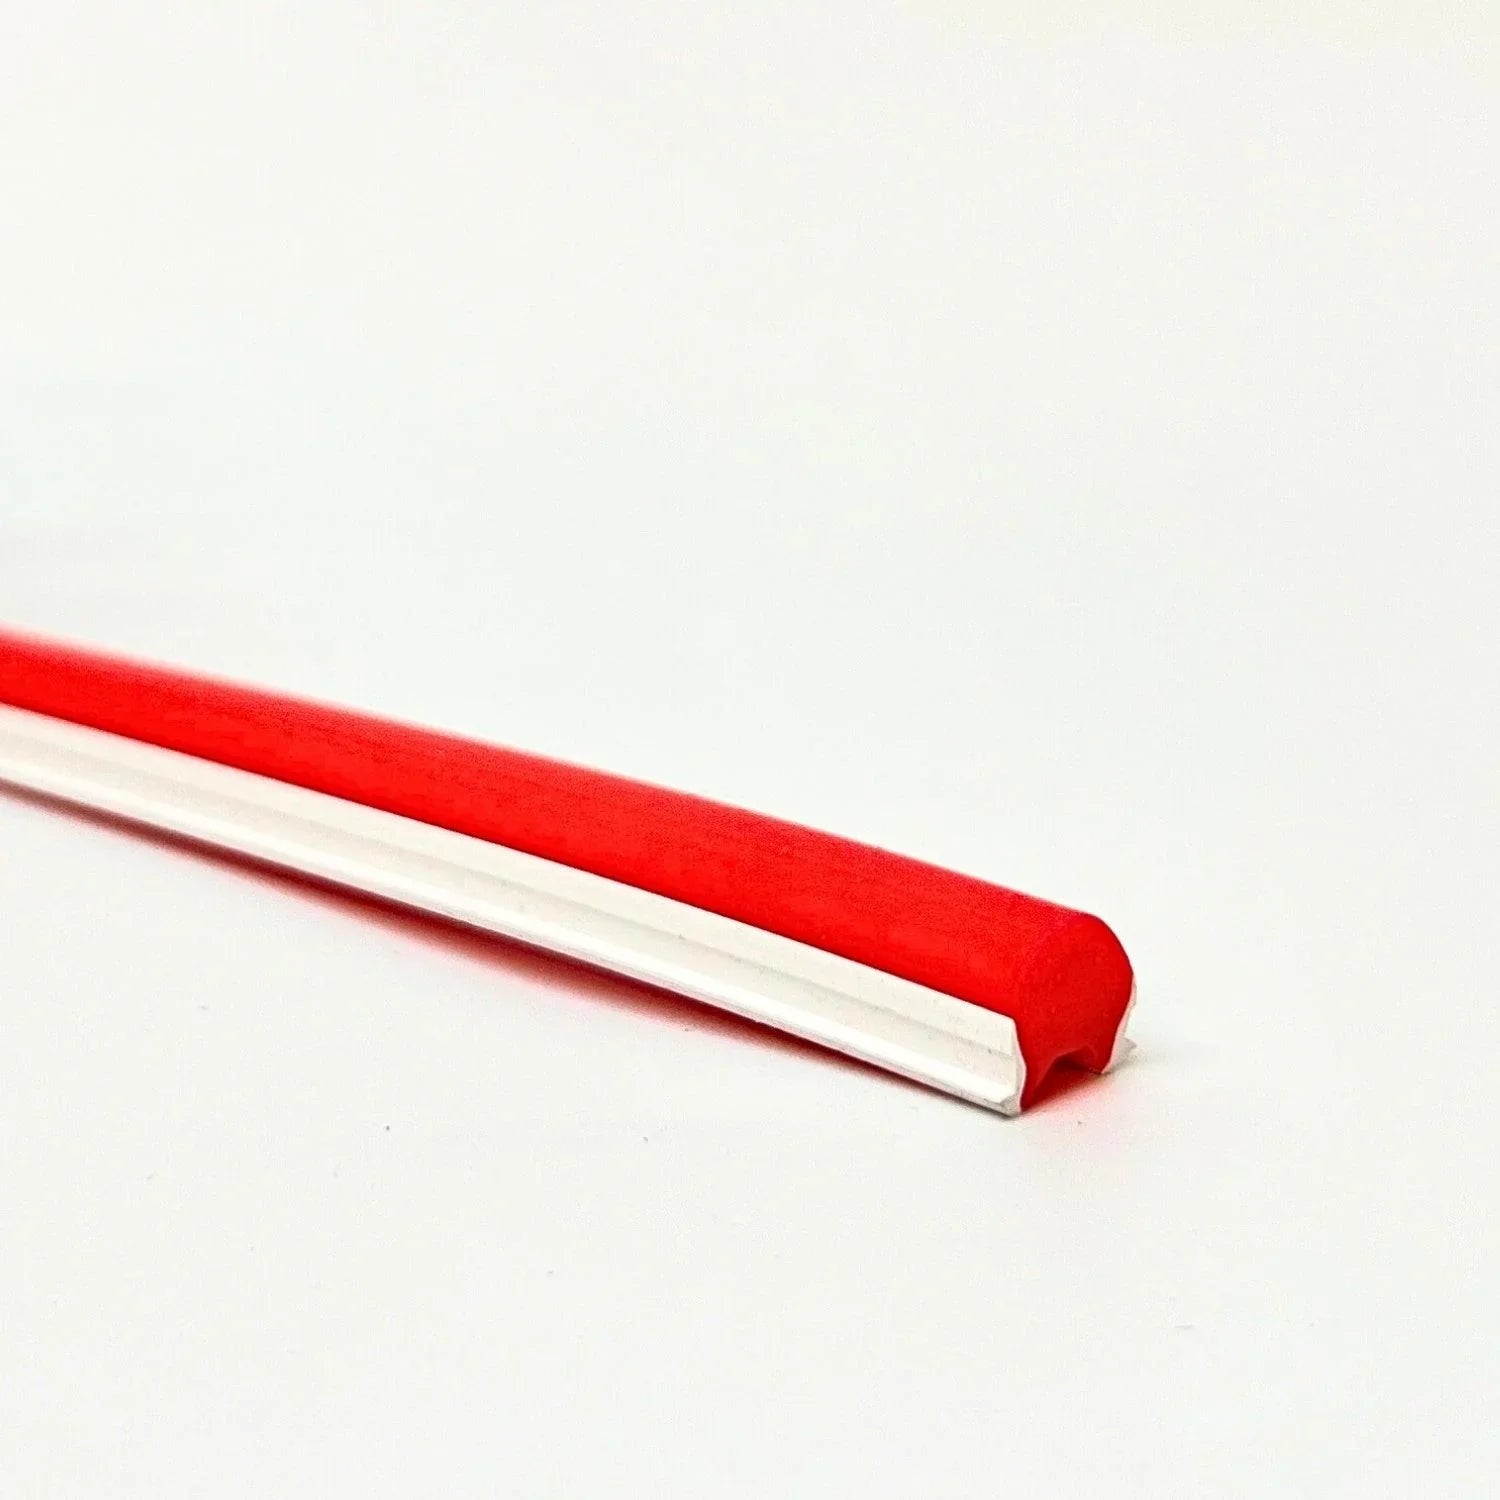
Red Silicone Neon Flex Tube Diffuser Body for LED Strip Lights Neon Signs 8mm

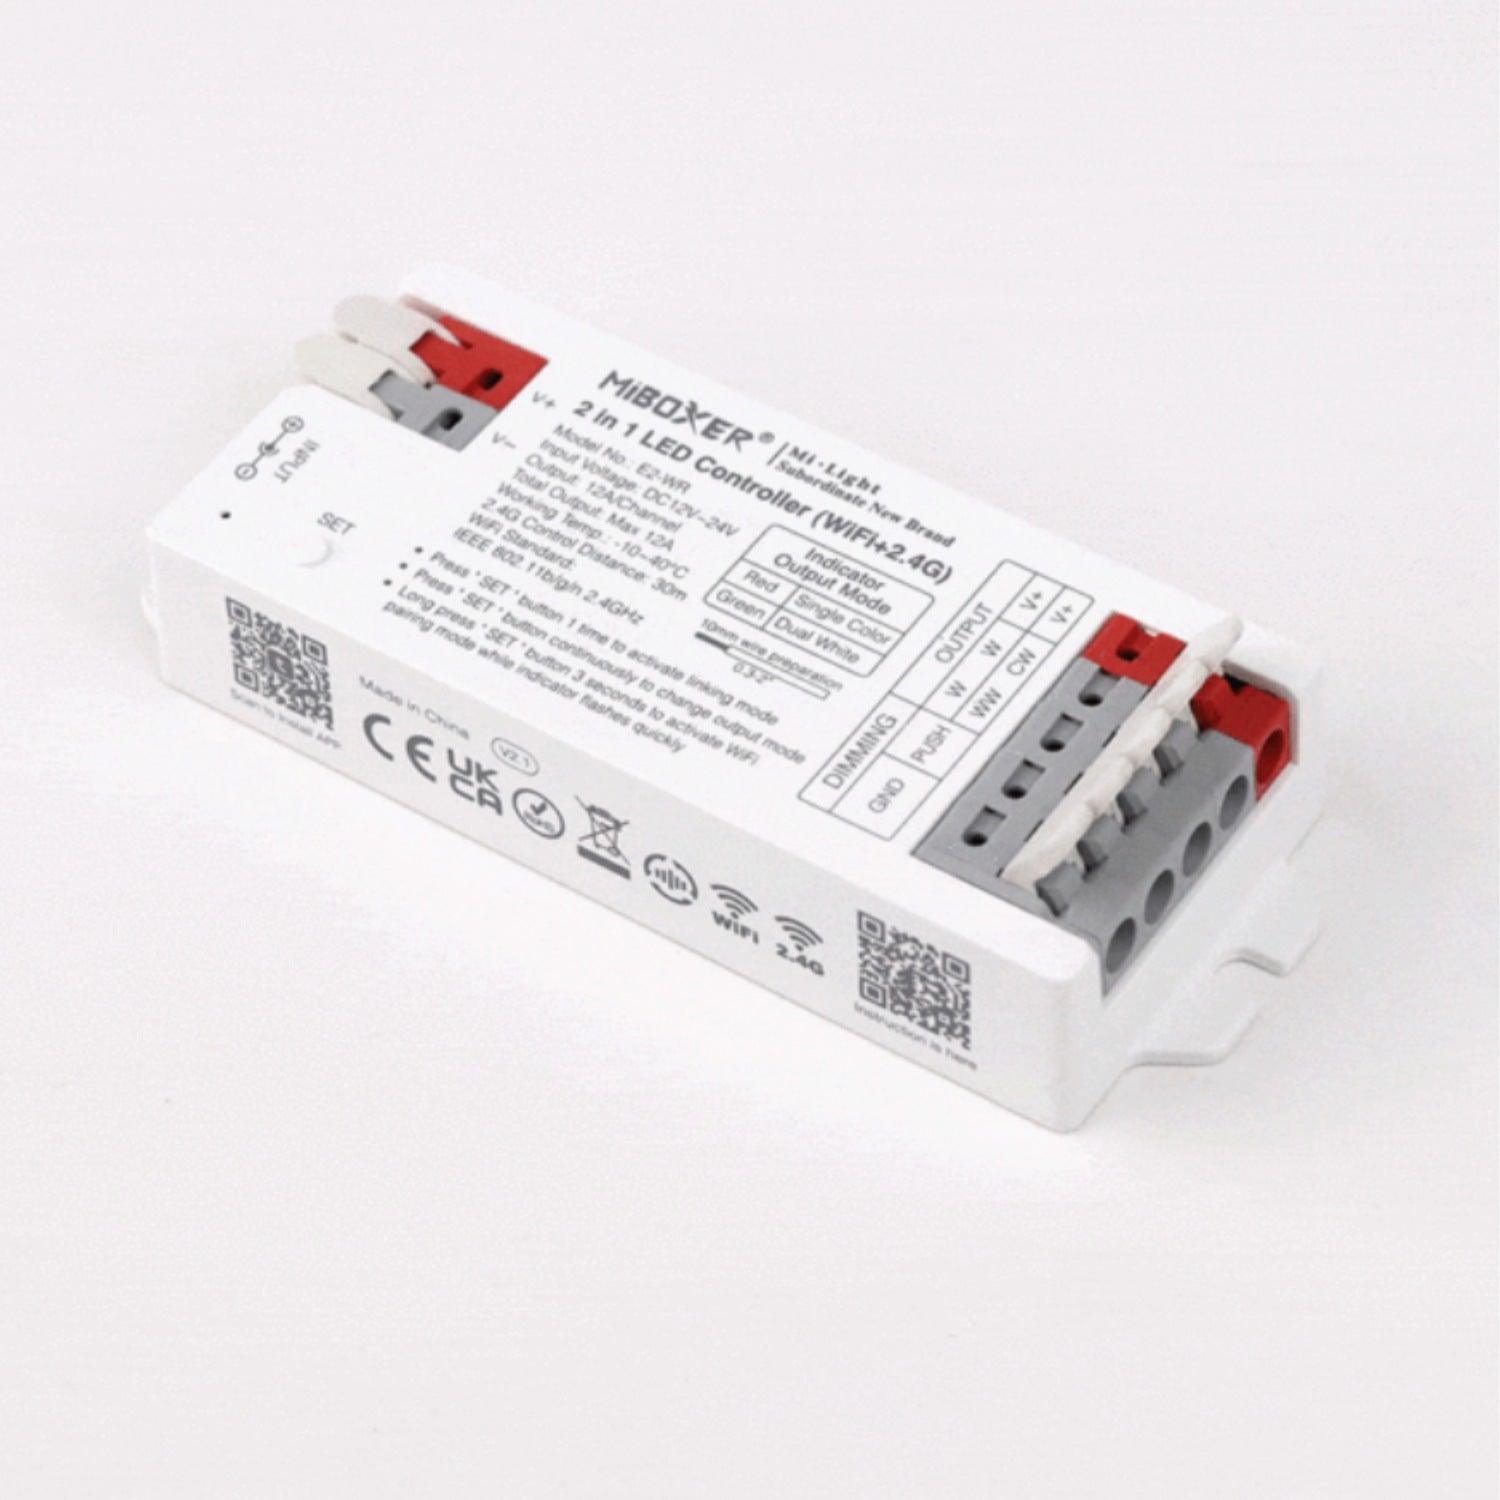
RGB Neon Flex 12V 8x18mm IP65 Waterproof 5cm Cut 5 Metre
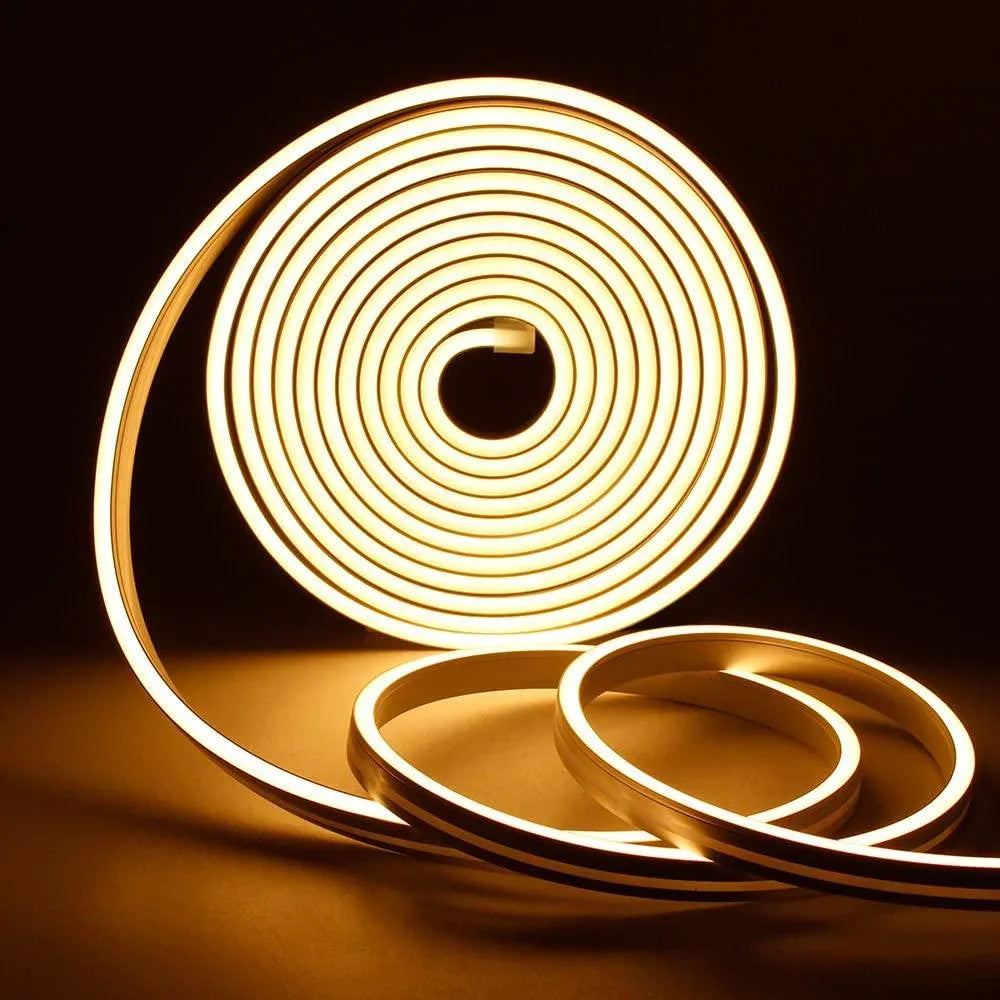
Mini Warm White Neon Flex 3000K 12V 6x12mm 120LEDs/m IP65 2.5cm Cut
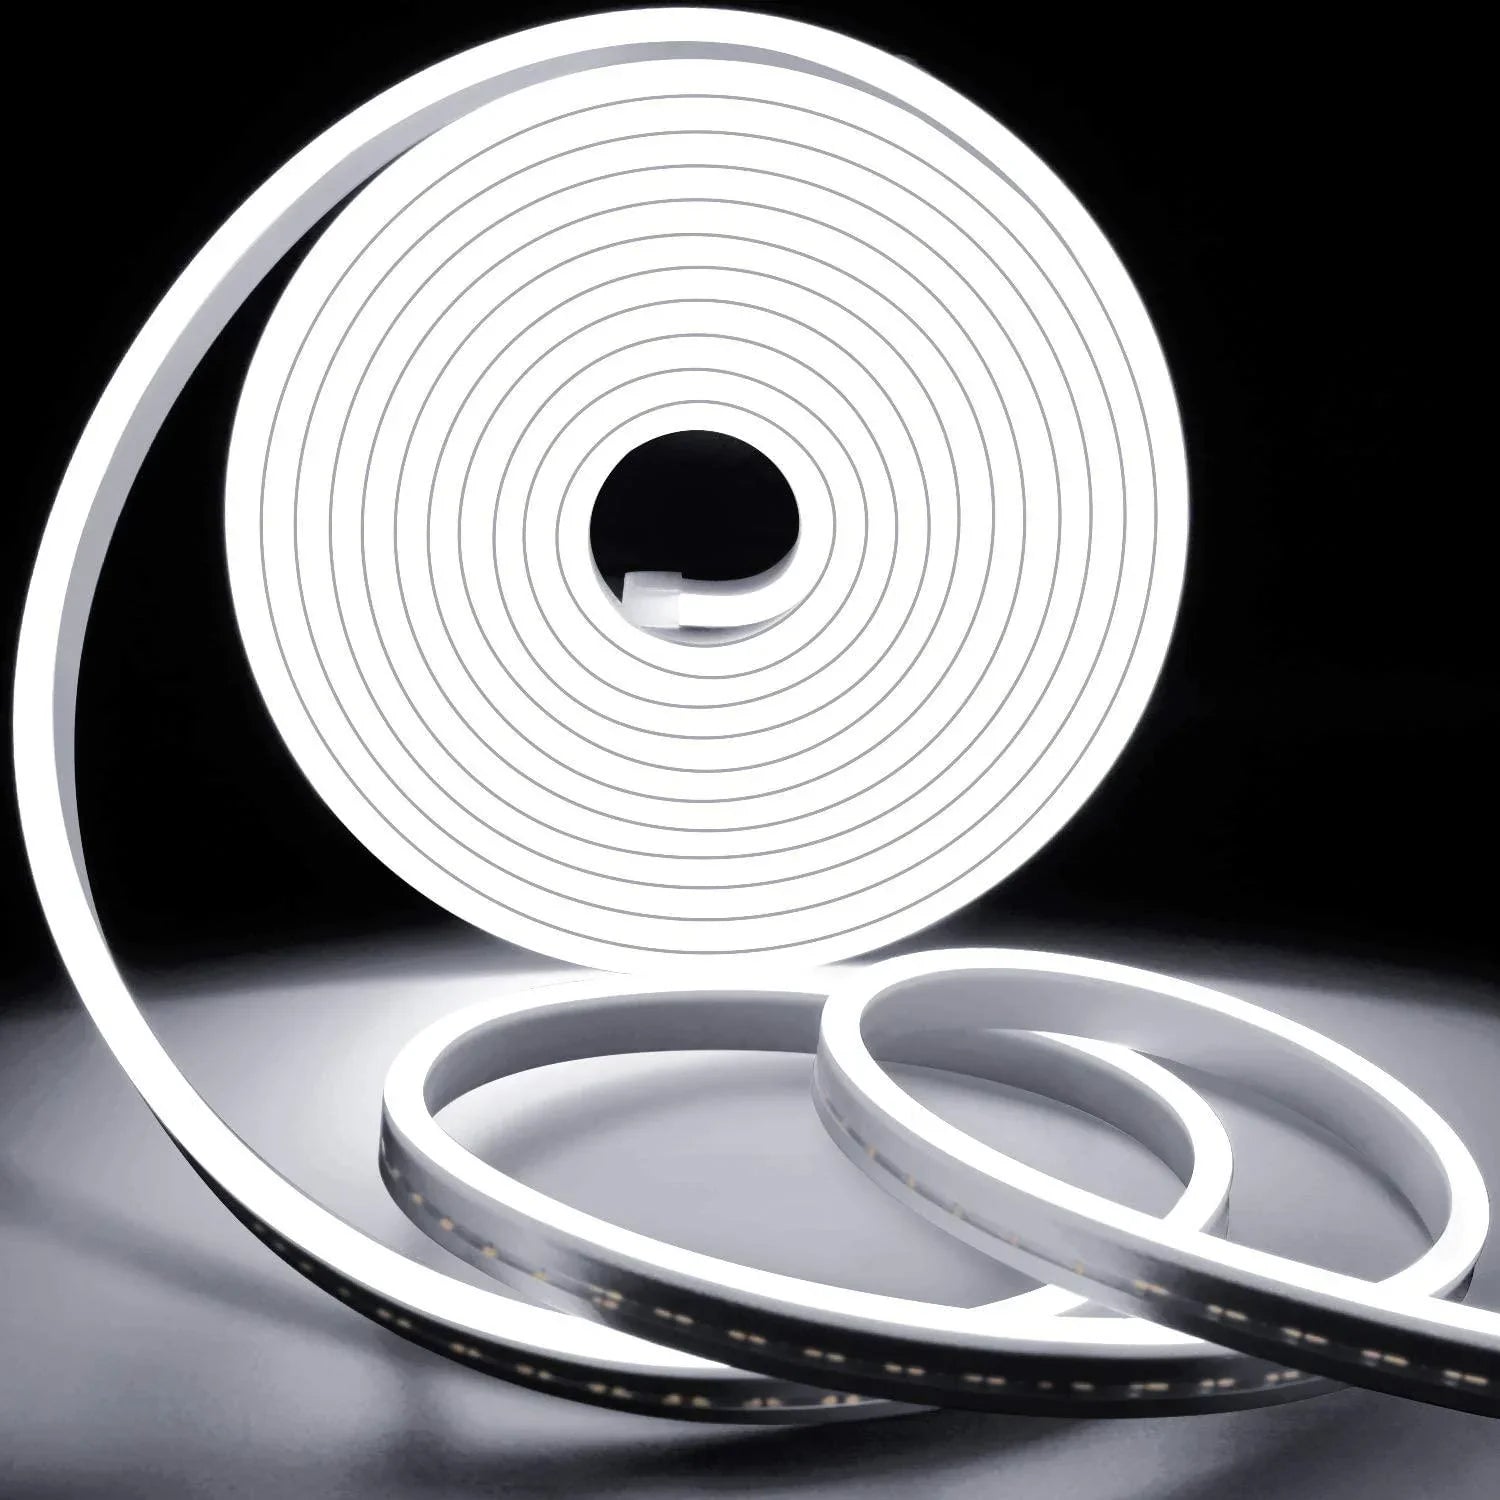
Mini Cool White Neon Flex 6000K 12V 6x12mm 120LEDs/m IP65 2.5cm Cut

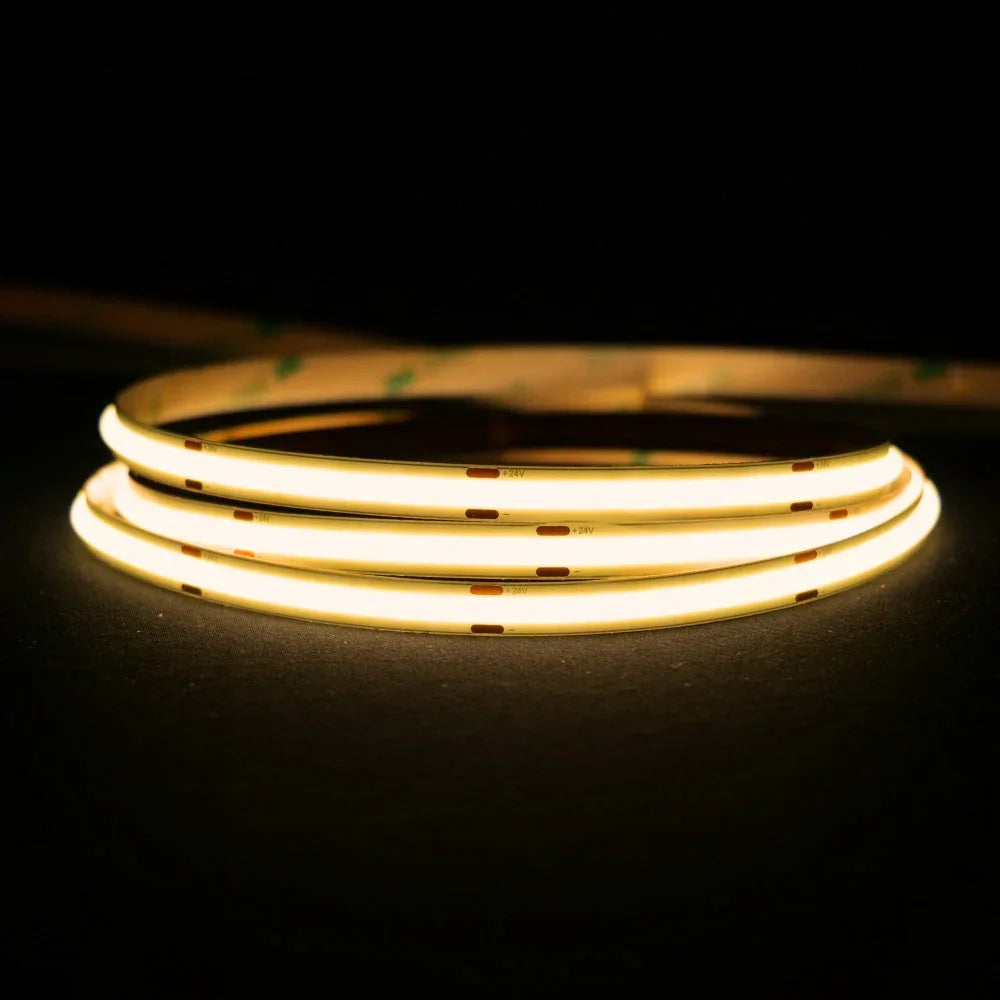
Warm White Neon Flex DC 12V IP65 Waterproof 8x16mm 120 LEDs/M Only

Mini RGB Neon Flex DC 12V 6x12mm IP65 Waterproof 5 Metre

Cool White Neon Flex 6000K DC 12V IP65 Waterproof 8x16mm 120 LEDs/M Only

Cool White Neon Flex 6000K DC 12V IP65 Waterproof 8x16mm 120 LEDs/M Only

Mini Green LED Neon Flex DC 12V 6x12mm 120LED/m IP65 Waterproof 2.5cm Cut
Mini Golden LED Neon Flex 12V 6x12mm 120LED/m IP65 Waterproof 1cm Cut
Mini Pink LED Neon Flex 12V 6x12mm 120LED/m IP65 Waterproof 1cm Cut
Mini Orange LED Neon Flex 12V 6x12mm 120LED/m IP65 Waterproof 1cm Cut

Mini Green LED Neon Flex 12V 6x12mm 120LED/m IP65 Waterproof 1cm Cut

Mini Red LED Neon Flex 12V 6x12mm 120LED/m IP65 Waterproof 1cm Cut

Mini Blue LED Neon Flex DC 12V 6x12mm 120LED/m IP65 Waterproof 1cm Cut

Mini Cool White Neon Flex 6000K 12V 6x12mm IP65 Waterproof 1cm Cut

Mini Warm White Neon Flex 3000K 12V 6x12mm IP65 Waterproof 1cm Cut

Warm White Neon Flex 3000K DC 12V IP65 Waterproof 8x16mm 120 LEDs/M

Blue LED Neon Flex DC 12V IP65 Waterproof 8x16mm 120 LEDs/M

Mini Blue LED Neon Flex DC 12V 6x12mm 120LED/m IP65 Waterproof 2.5cm Cut

Mini Warm White Neon Flex 12V 6x12mm 120LEDs/m IP65 50 Metre Roll

Mini Purple LED Neon Flex 12V 6x12mm 120LED/m IP65 Waterproof 1cm Cut
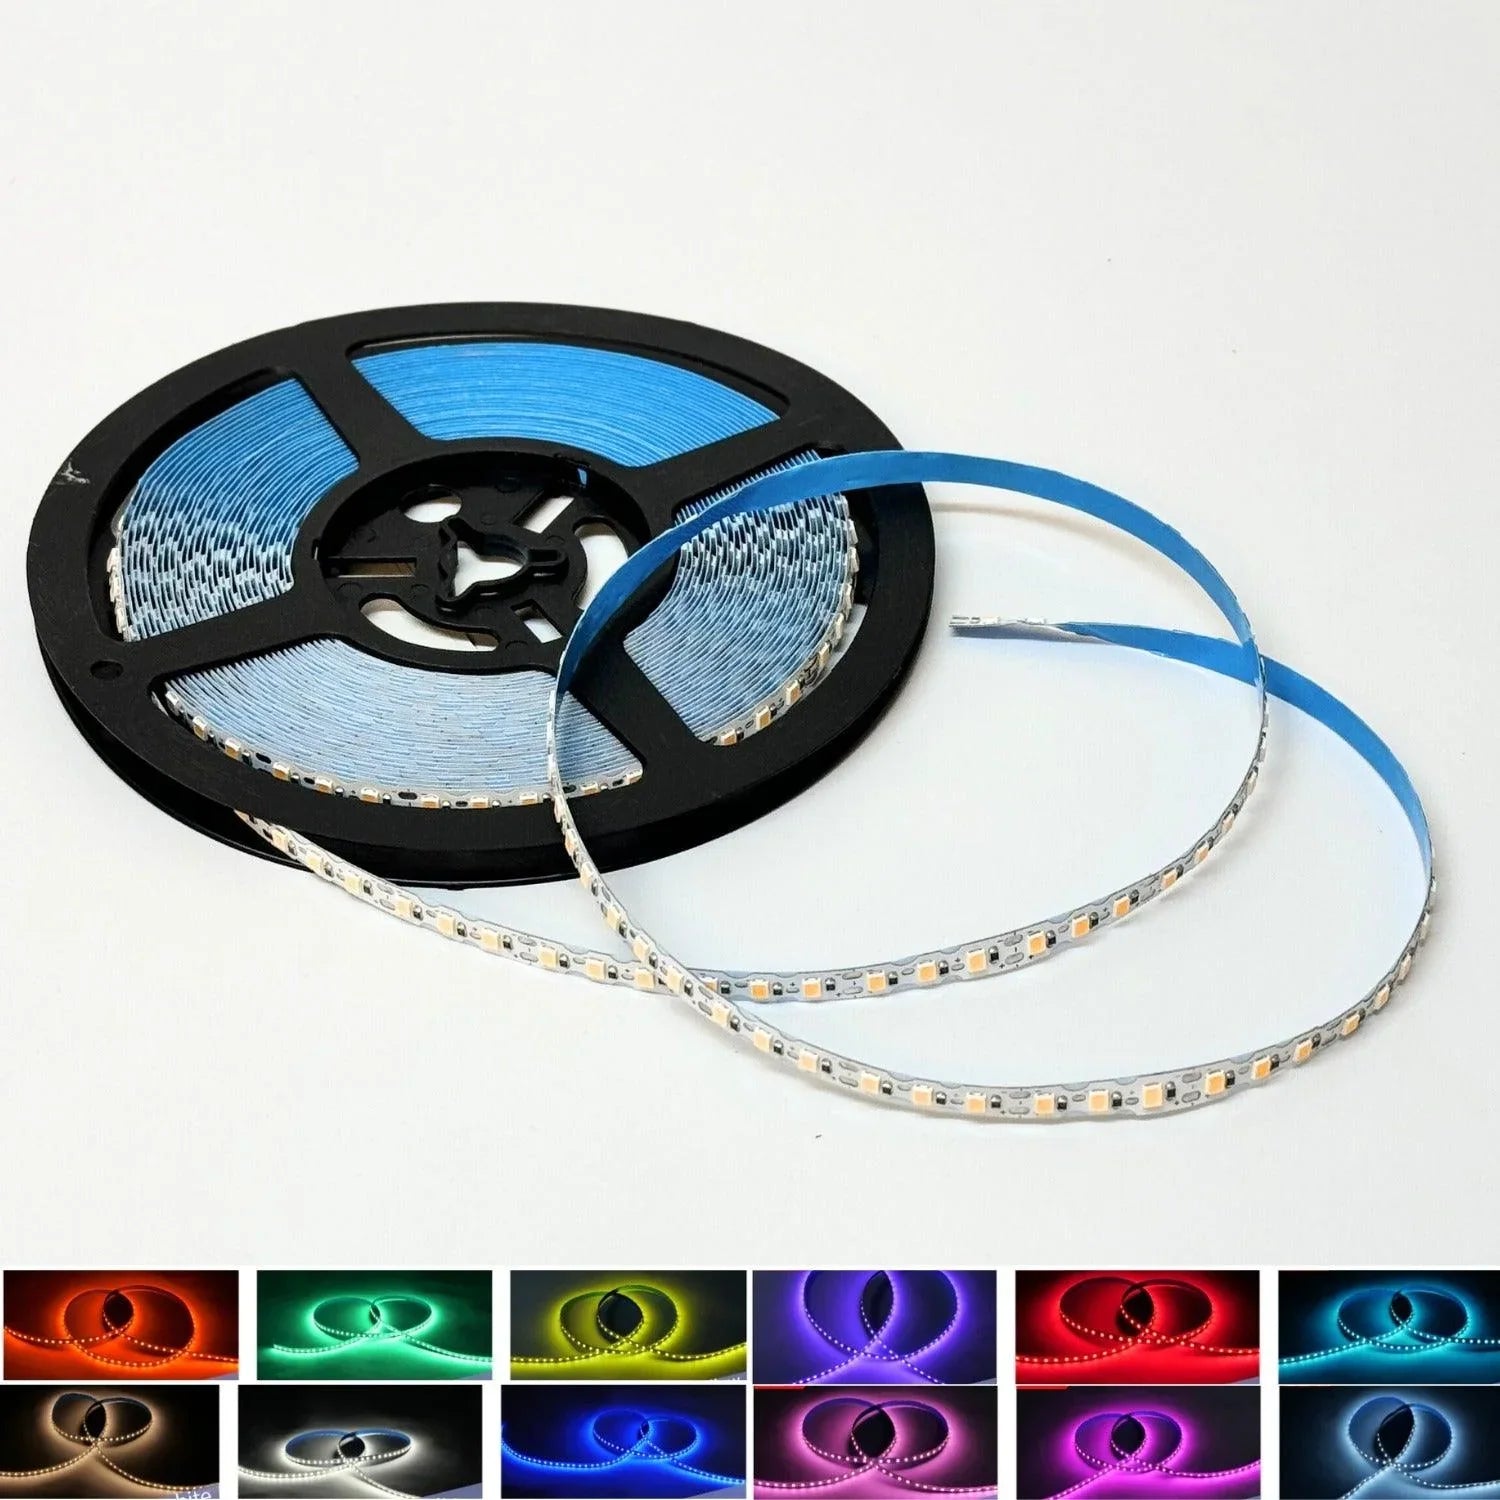
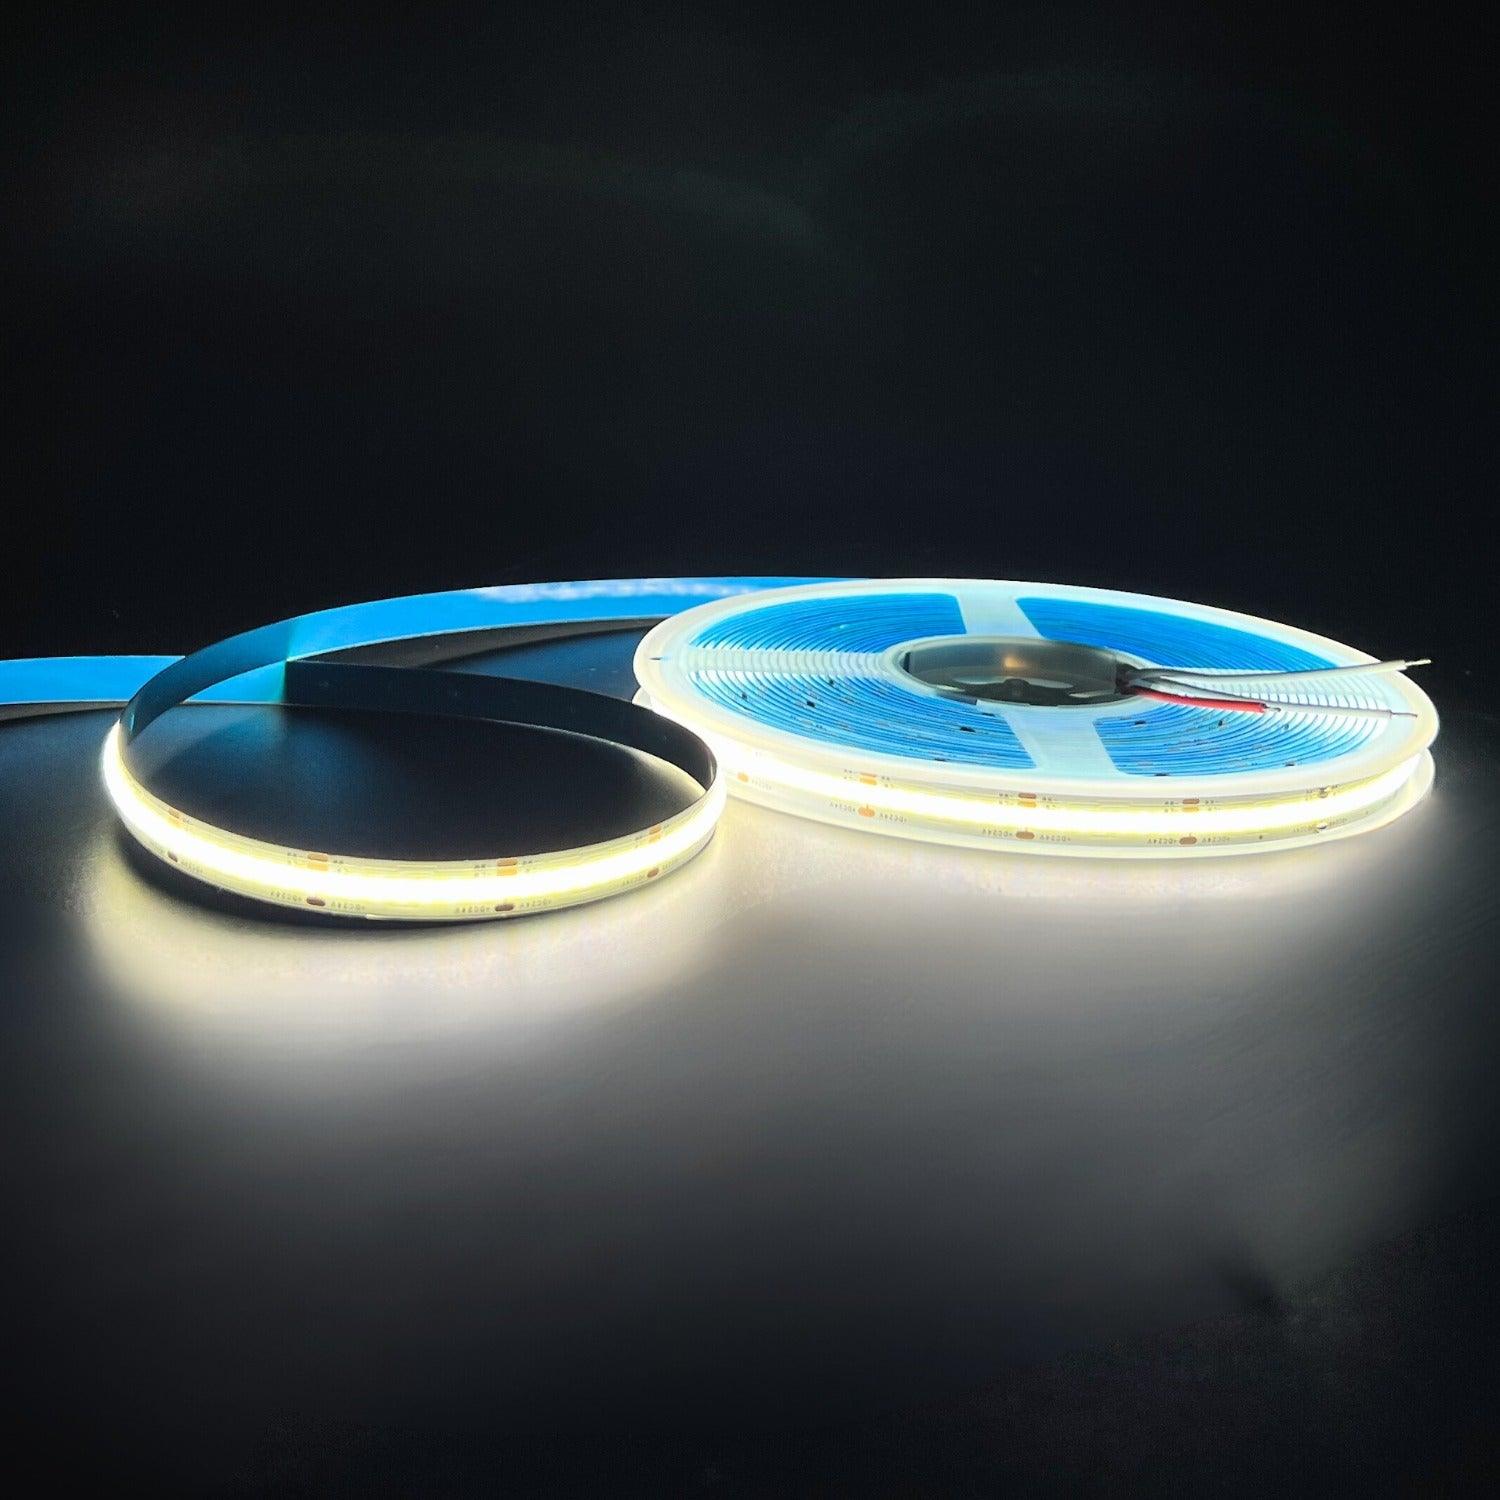
Led Strips 12V SMD2835 S Shape Bendable 120 Leds/m 6mm 5 Metre

Mini Natural White Neon Flex 4000K 12V 6x12mm IP65 Waterproof 1cm Cut
Let customers speak for us

The lighting is very good and looks the part in my sons bedroom, what i would say is that they clips provided are poor and dont hold the lighting in place. I purchased some 3m double sided tape and this was much better and maintained the lighting in a straight line.

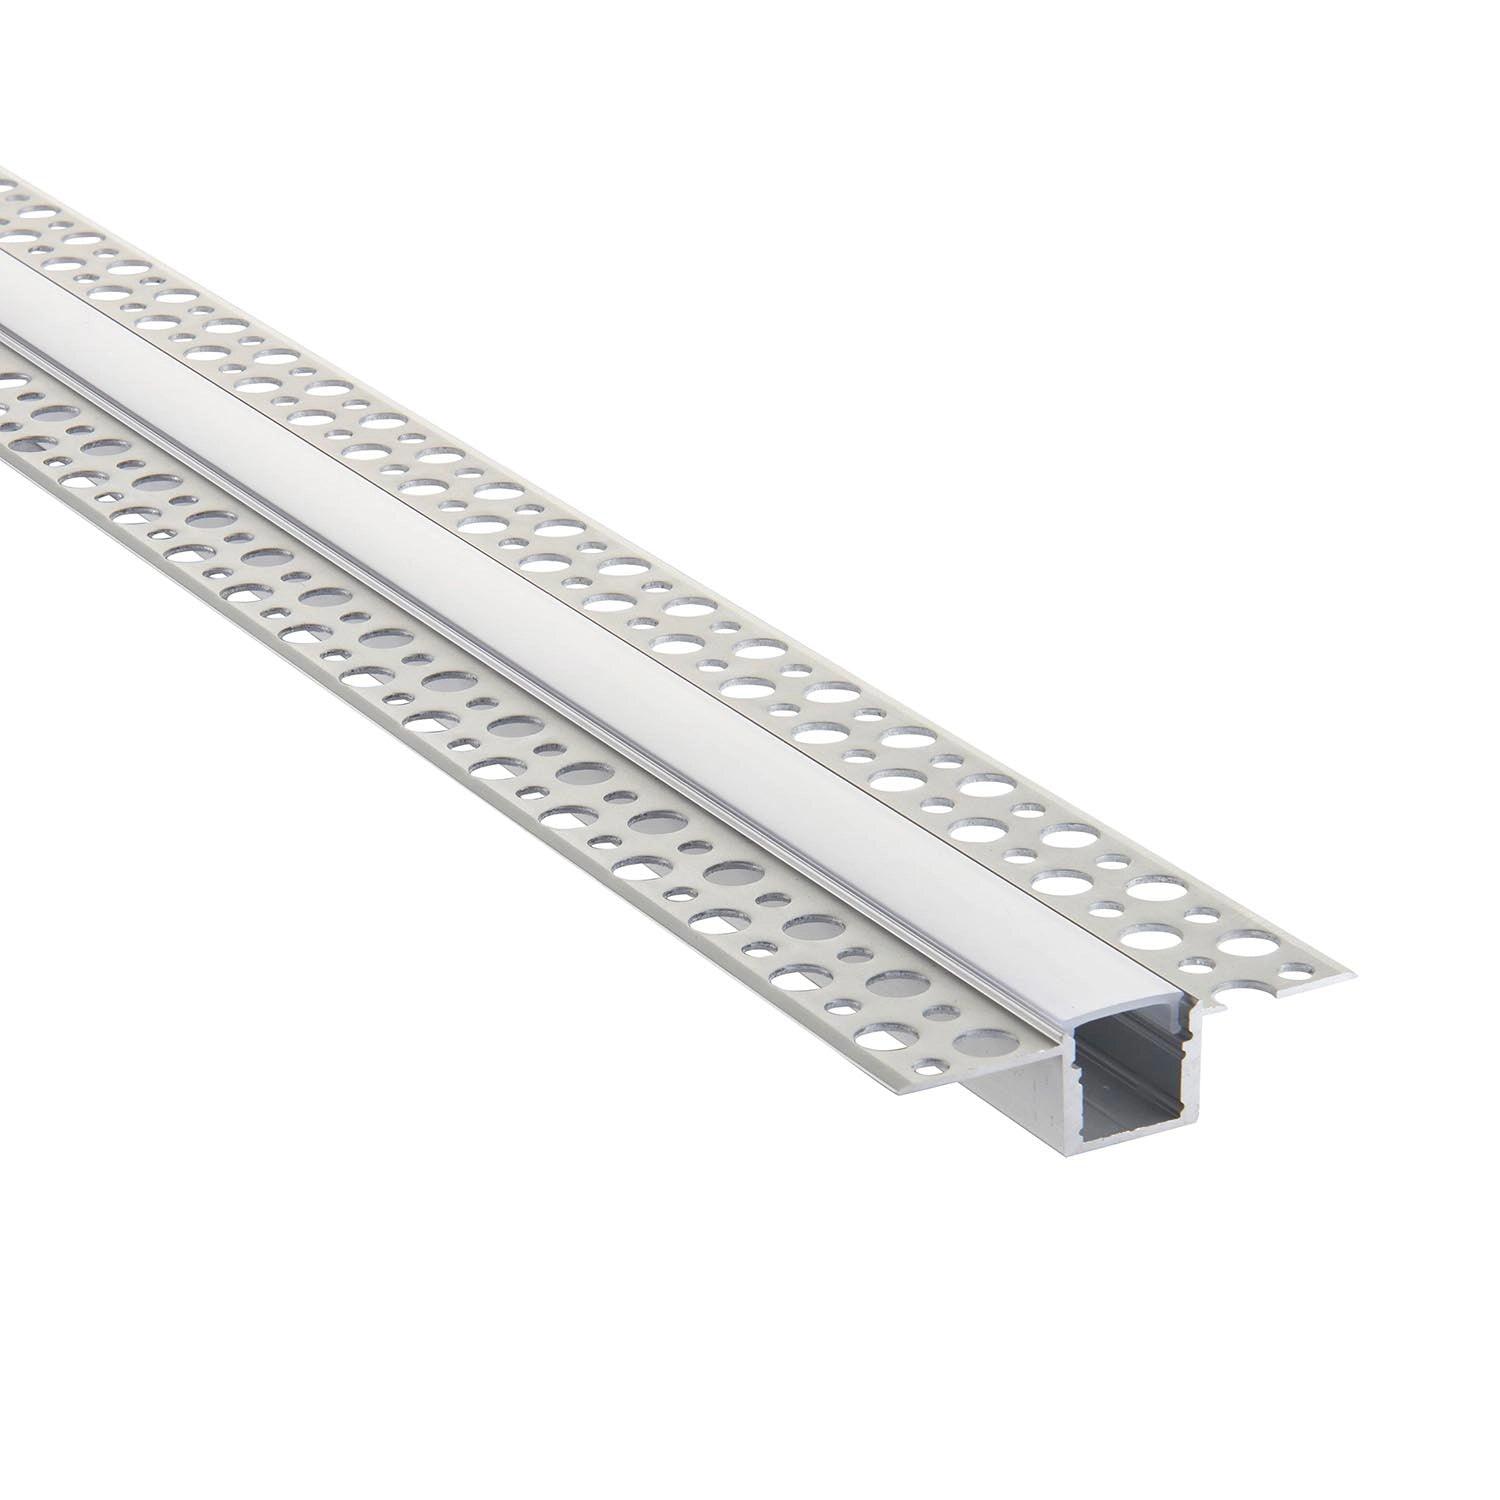
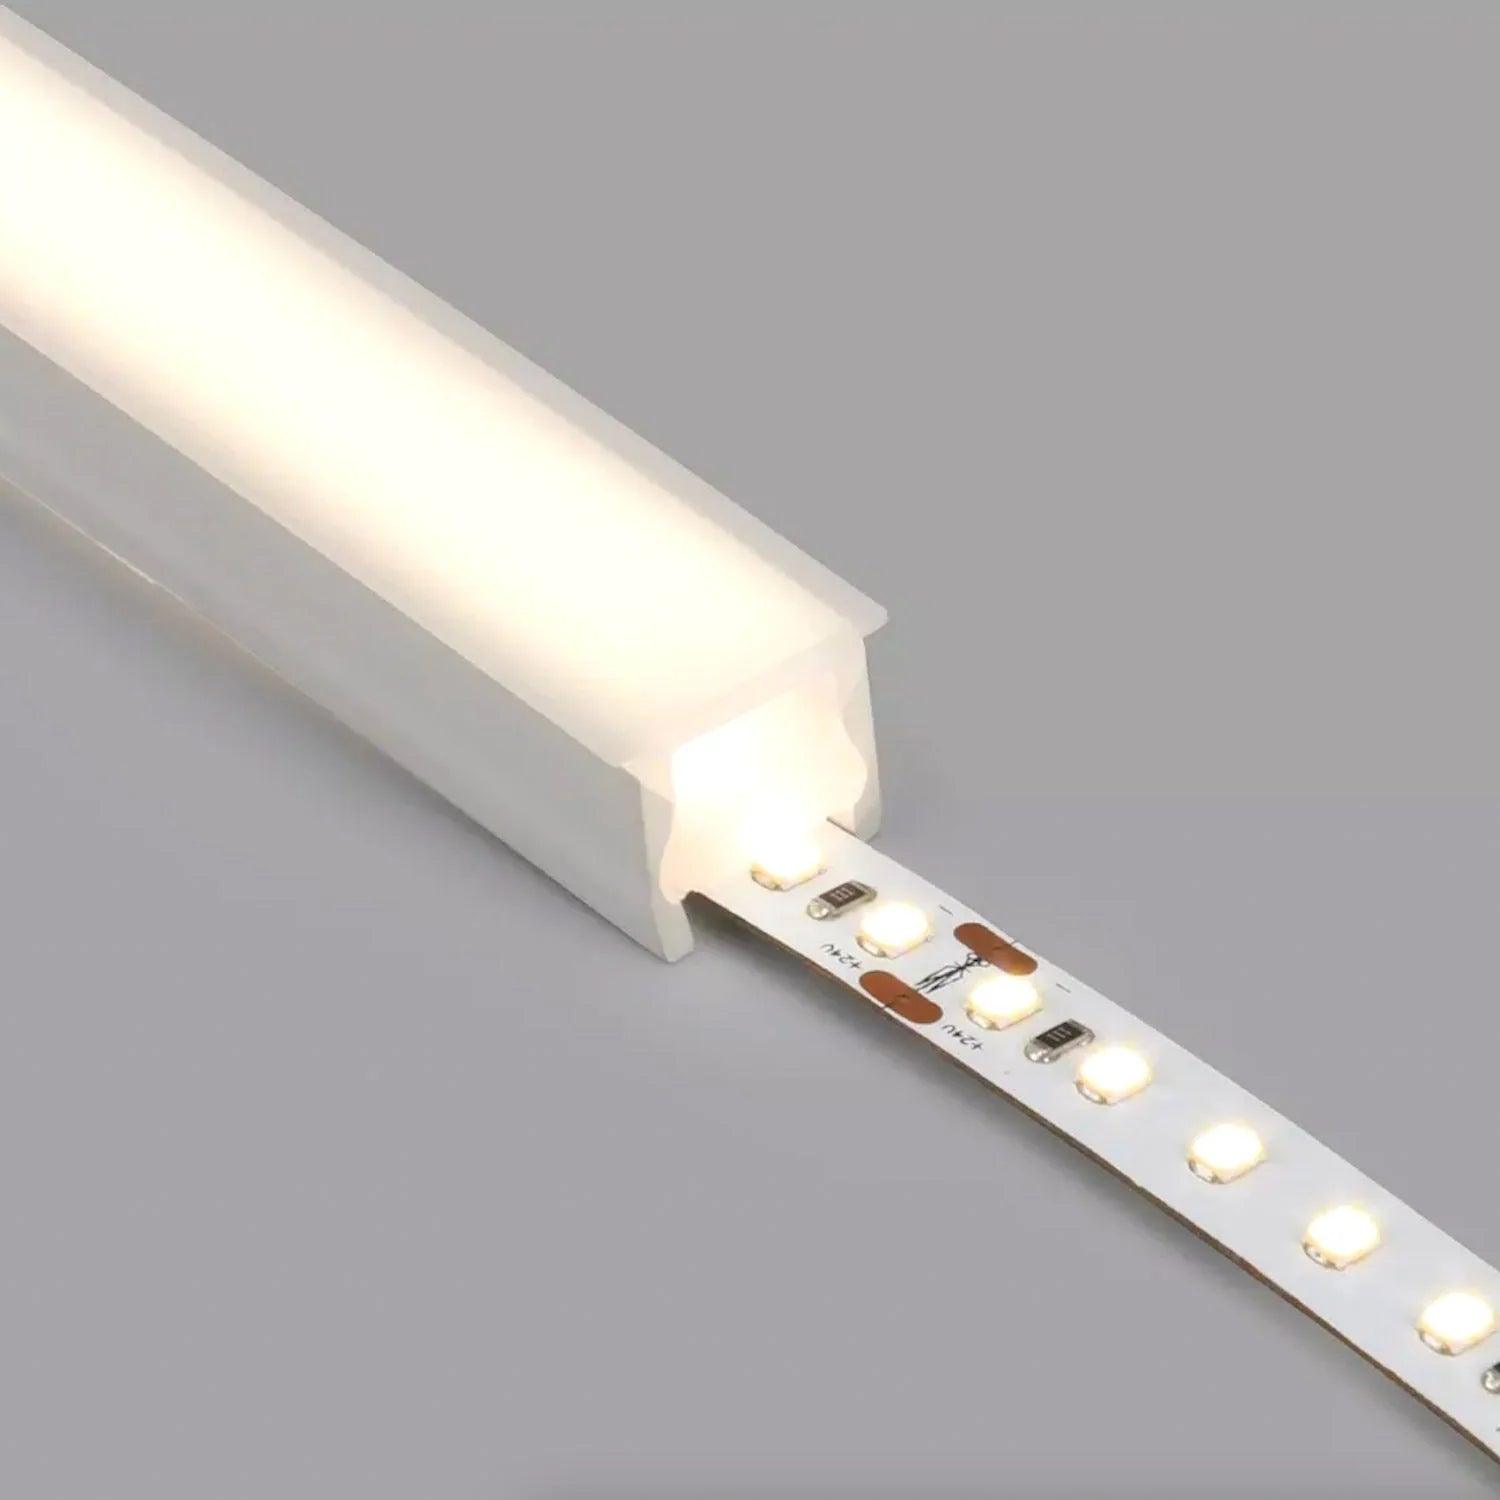
LED Neon Flex Aluminium Channel Mounting Track for 8x16mm Neon Flex 1 Metre

Lights lost om first delivery payed extra for next day emailed and was told they would return next day payment never recieved it, second set was returned by dpd as could not find address was resent out and have now recieved them

This product is hard to find on the market.
So glad these guys had it for sale.
Really fast delivery.
I'm very happy.

still waiting for the product , cannot really say its been 3 weeks now.

Good service

These do work, and are easy to install. The clips came with round head screws - don't use them, they must be countersunk. I've docked one star, as if you need a run of these, as I do, there's no way to join them and the cable only goes in at the ends - lucky I have a vertical mill and can cut into the rear midway..!

LED Strip Light Aluminium Recessed Profile Milky Cover Cabinet LED Channel

Quick help quick order

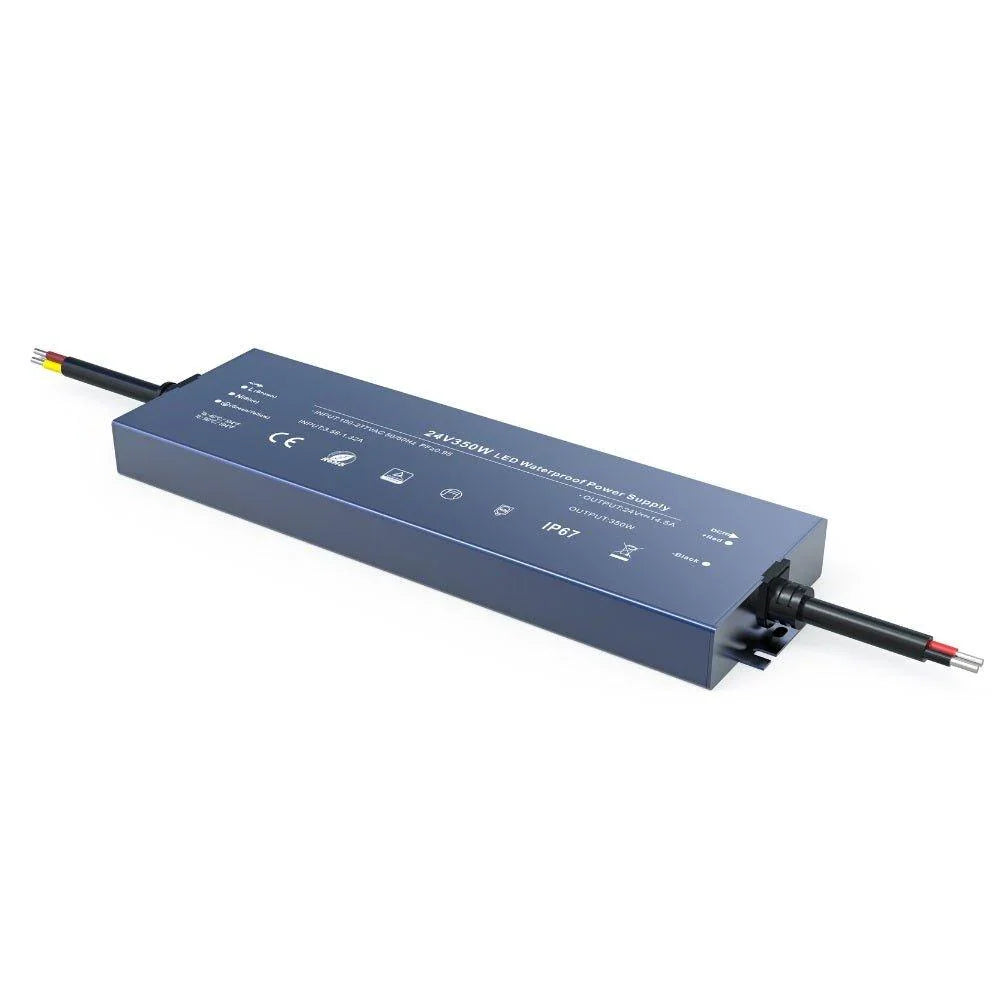
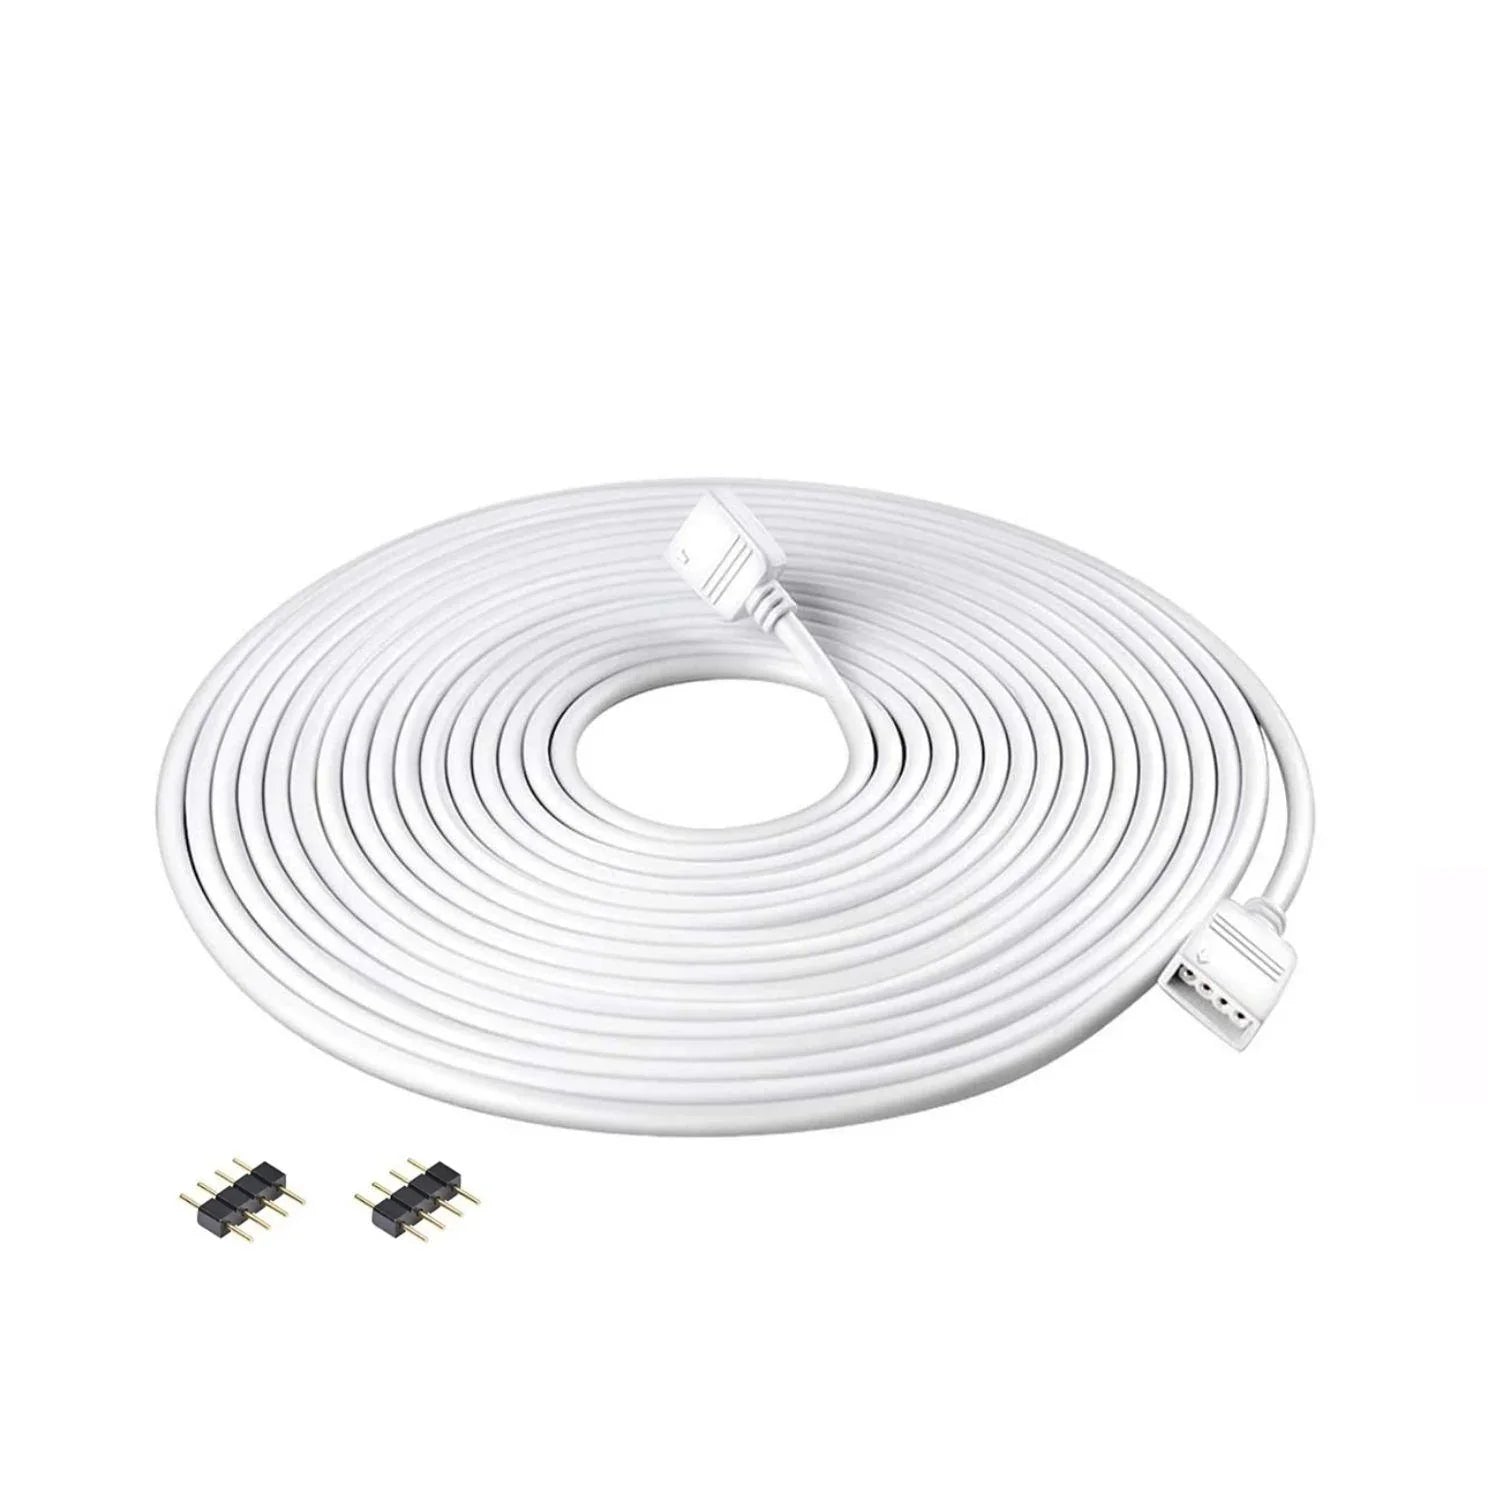
Add On Extension Cable With UK Plug

Excellent customer support received when item unfortunately arrived with opal covering and end caps missing.
Items were sent out immediately for next day delivery. Would definately recommend.

This item was perfect for my project. I will be ordering more without question. I asked for some extra endcaps, these were included at no extra cost, great customer service. Thank you A+++++++

Good quality and price point. Provided a replacement for exactly what I needed

Item described as dimmable and even picture shows a dimmer switch and I recieved a wire with none of what was described

Installed 17mtr run of cool white neon flex around the canopy shelf of my conservatory. Looks good and gives the added light I was looking for. Good quality product and I would recommend dealing with this company.